Table of contents
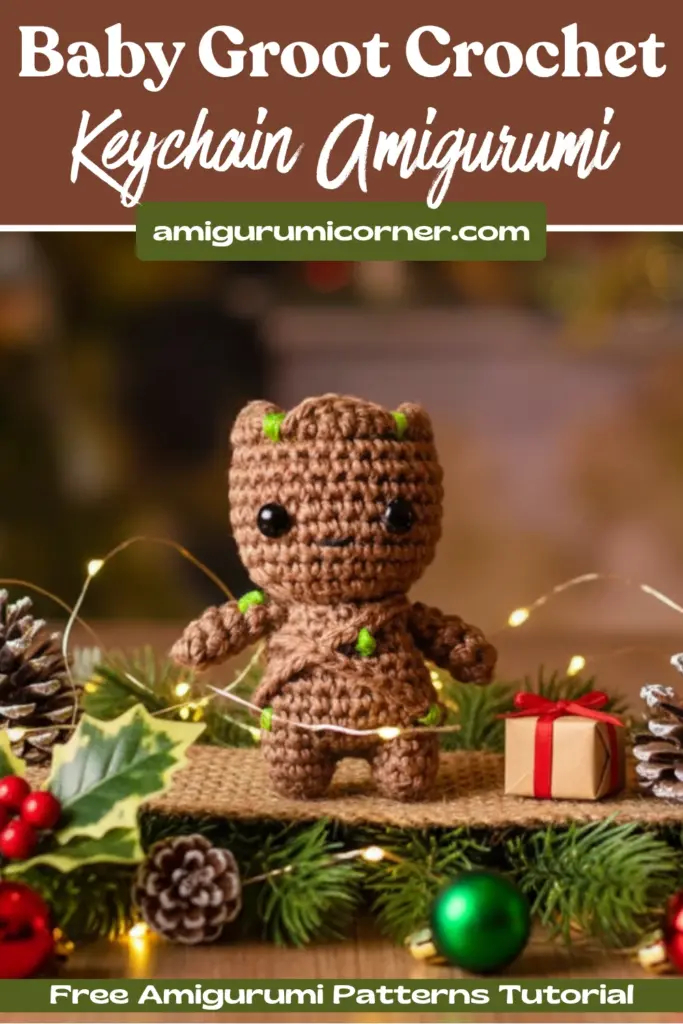
Hello fellow crafters and Marvel enthusiasts! Are you ready to bring one of the galaxy’s most beloved characters to life with your crochet hook? Today, we’re diving into the enchanting world of amigurumi to create an irresistibly cute Baby Groot toy. This free pattern is designed to result in a charmingly small figure, perfect for adorning your keys, backpack, or even as a thoughtful handmade gift.
Remember it later!
Planning to try this soon? Pin it for a quick find later!
What You’ll Create: A Tiny Tree-Mendous Friend
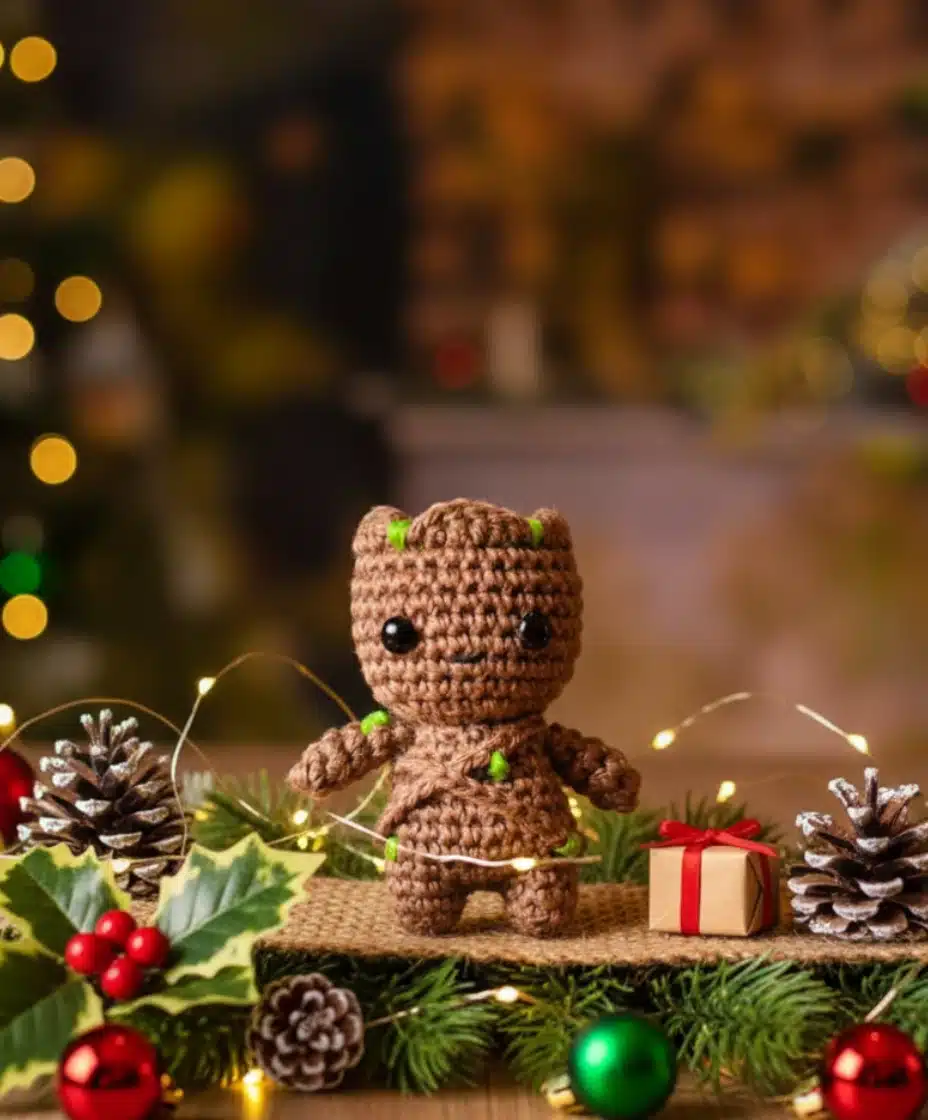
This beautiful amigurumi pattern is not just for display; its compact size makes it an excellent keychain. Imagine Baby Groot accompanying you on all your adventures! The character’s inherent cuteness translates perfectly into a crochet doll, and transforming him into a practical keychain is a truly good idea. We’ll walk through each crochet step patiently and carefully, ensuring your little tree man comes out looking fantastic.

Getting Started: Materials and Abbreviations
Before we begin our crochet journey, let’s gather all the necessary supplies and familiarize ourselves with the essential abbreviations.
Materials List
To make your Baby Groot amigurumi, you will need:
- Brown yarn
- Crochet hook (appropriate for your yarn weight)
- Sewing needle
- Green embroidery thread
- Black embroidery thread
- Safety eyes (choose a size that fits your desired Groot)
- Stuffing
Key Crochet Abbreviations
Understanding these abbreviations will make following the pattern much easier:
- MR – magic ring
- ch – chain
- sc – single crochet
- hdc – half double crochet
- dc – double crochet
- ss – slip stitch
- inc – increase
- dec – decrease
- BLO – back loops only
- FLO – front loops only
- FO – fasten off
With your materials ready and abbreviations understood, let’s start making our Baby Groot!

Step-by-Step Amigurumi Guide
We’ll tackle this project section by section, starting with the foundation and building up to the delightful details.
The Legs
We begin our Baby Groot with the legs. Take your time with these small pieces; patience is key!
- Rnd 1: 6 sc in MR – (6 stitches)
- Rnd 2: 2 sc, 1 inc, 3 sc – (7 stitches)
- Rnd 3: 7 sc – (7 stitches)
Fasten off and create a second identical leg. Do not fasten off the second leg, as we will join it to the body.
Building the Body
The legs and body of our amigurumi are crocheted together to form a seamless base.
- From the second leg, chain 2 stitches, then join the legs to form a continuous round.
- Rnd 1: 18 sc (across both legs and chains)
- Rnd 2: 3 sc, 1 inc, 8 sc, 1 inc, 5 sc – (20 stitches)
- Rnd 3-6: 20 sc – (20 stitches)
- Rnd 7: 3 sc, 1 dec, 8 sc, 1 dec, 5 sc – (18 stitches)
- Rnd 8: 3 sc, 1 dec, 7 sc, 1 dec, 4 sc – (16 stitches)
- Rnd 9: (2 sc, 1 dec) * 4 – (12 stitches)
Do not fasten off. Stuff the body firmly at this stage.
Crafting the Head
The head is crucial for capturing Baby Groot’s signature look. We’ll continue directly from the body’s last row.
- Rnd 1 (FLO): (1 inc, 1 sc) * 6 – (18 stitches)
- Rnd 2: (1 inc, 2 sc) * 6 – (24 stitches)
- Rnd 3: (1 inc, 3 sc) * 6 – (30 stitches)
- Rnd 4-9: 30 sc – (30 stitches). Add safety eyes in row 6.
- Rnd 10 (BLO): (1 dec, 3 sc) * 6 – (24 stitches)
- Rnd 11: (1 dec, 2 sc) * 6 – (18 stitches)
Stuff the head now, shaping it well.
- Rnd 12: (1 dec, 1 sc) * 6 – (12 stitches)
- Rnd 13: 6 dec. (6 stitches)
Fasten off.
Now, let’s add some delightful detail to the head. Join your thread to the front loops of row 10.
- Rnd 10a: 1 ch, 1 hdc, 2 dc, 1 hdc, 1 sc, 1 ss, 1 sc, 2 hdc, 2 dc, 2 hdc, 1 sc, 1 ss, 1 sc, 1 hdc, 1 dc, 1 hdc, 1 ss, 1 ch, 1 hdc, 4 dc, 2 hdc, 2 sc. Join the row with a slip stitch.
Remember it later!
Planning to try this soon? Pin it for a quick find later!

Adding the Arms
Next up are Baby Groot’s adorable little arms.
- Rnd 1: 6 sc in MR – (6 stitches)
- Rnd 2-4: 6 sc – (6 stitches)
- Rnd 5: 1 dec, 4 sc – (5 stitches)
Make two arms.
The Finishing Touches: Vines and Details
Your Baby Groot is almost complete! Now for the characteristic details that make him a true

Remember it later!
Planning to try this soon? Pin it for a quick find later!