Table of contents
Remember it later!
Planning to try this soon? Pin it for a quick find later!
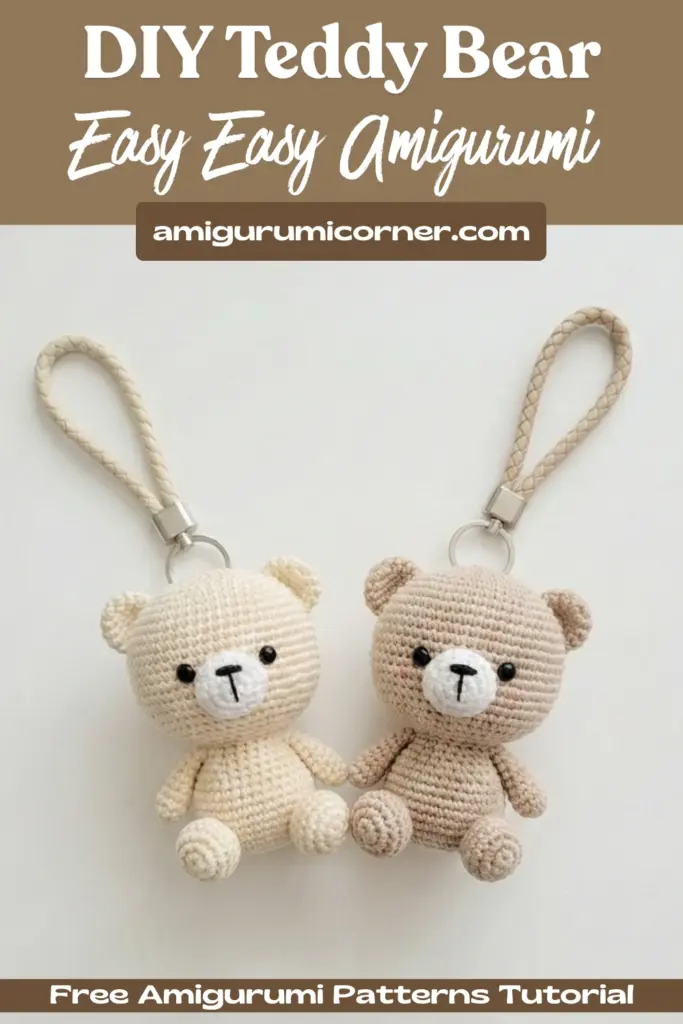
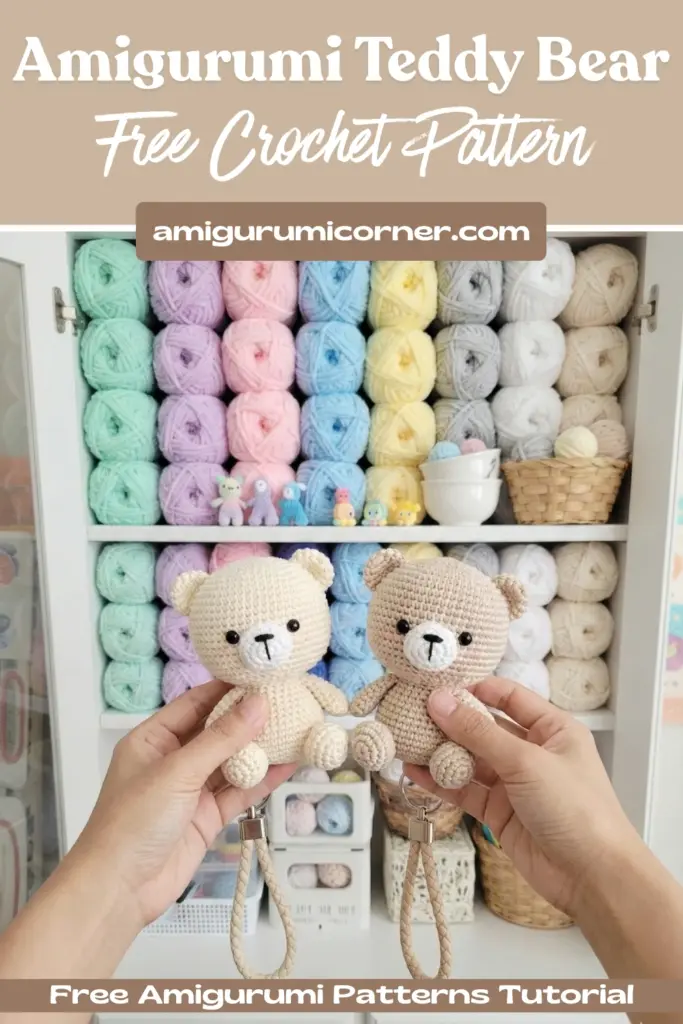
Are you looking for a charming and practical crochet project that combines cuteness with functionality? This delightful Amigurumi Teddy Bear Keychain is the perfect solution! Whether you’re a beginner looking to practice your skills or an experienced crocheter seeking a quick and satisfying project, this free pattern will guide you through creating an adorable miniature companion.
Amigurumi, the Japanese art of crocheting small stuffed creatures, has captured the hearts of crafters worldwide. Today’s featured pattern offers a wonderful introduction to this beloved technique while creating something both decorative and useful. This tiny amigurumi teddy bear keychain will make an excellent gift, a personal accessory, or a delightful addition to your amigurumi collection.

Materials You’ll Need To Make Amigurumi Teddy Bear
Before diving into the pattern, gather these essential supplies:
- Yarn: Mohair or cotton yarn
- Hook: 1.25mm crochet hook
- Eyes: Black beads or safety eyes
- Nose: Plastic safety nose
- Embroidery floss: Pink for cheeks, black for muzzle details
- Tools: Sewing needle, scissors
- Stuffing: Fiber fill
- Hardware: Keychain ring
Understanding the Abbreviations
Familiarize yourself with these common crochet terms used throughout the pattern:
- R: Row
- ch: Chain
- sc: Single crochet
- sl st: Slip stitch
- inc: Increase (2 sc in one stitch)
- dec: Decrease (2 sc together)
- […]: Number of stitches you should have at the end of the row
- (…): Repeat whatever is between the brackets the given number of times
Step-by-Step Instructions
Creating the Head
Start by making 12 chains to form an oval base. This technique allows you to work on both sides of the initial chain, creating a rounded three-dimensional shape.
- Round 1: Beginning from the 2nd chain from hook, work 10 single crochets, then 3 single crochets in the last stitch. Turn and work along the opposite side: 9 single crochets, then increase. You should have 24 stitches total.
- Rounds 2-8: Continue following the increase pattern to gradually expand the head shape, reaching 60 stitches at the widest point.
- Rounds 9-21: Work even rounds with 60 single crochets to create the main body of the head.
- Rounds 22-24: Begin decreasing to close the head, reducing from 60 stitches down to 24 stitches. Fasten off and leave a long tail for sewing.
Crafting the Body
- Round 1: Start with 6 single crochets in a magic ring.
- Rounds 2-6: Increase systematically to reach 36 stitches.
- Rounds 7-12: Work even rounds with 36 stitches.
- Rounds 13-16: Decrease gradually back to 24 stitches, then slip stitch to close.
Making the Arms (Create 2)
Work 7 single crochets in a magic ring for 5 rounds to create small, proportionate arms. Leave long tails for attachment.
Creating the Ears (Make 2)
Start with 5 single crochets in a magic ring, then increase to 10 stitches in the second round. These small ears will add character to your bear.
Forming the Muzzle
Begin with 6 single crochets in a magic ring, increase to 12, then to 18 stitches over three rounds to create the snout area.
Constructing the Legs (Make 2)
Start with 5 chains and work in an oval pattern similar to the head, but on a smaller scale. Create small, sturdy legs that will give your bear a proper sitting position.
Adding the Tail
Work 6 single crochets in a magic ring, increase to 12, then decrease back to 8 stitches for a cute, small tail.

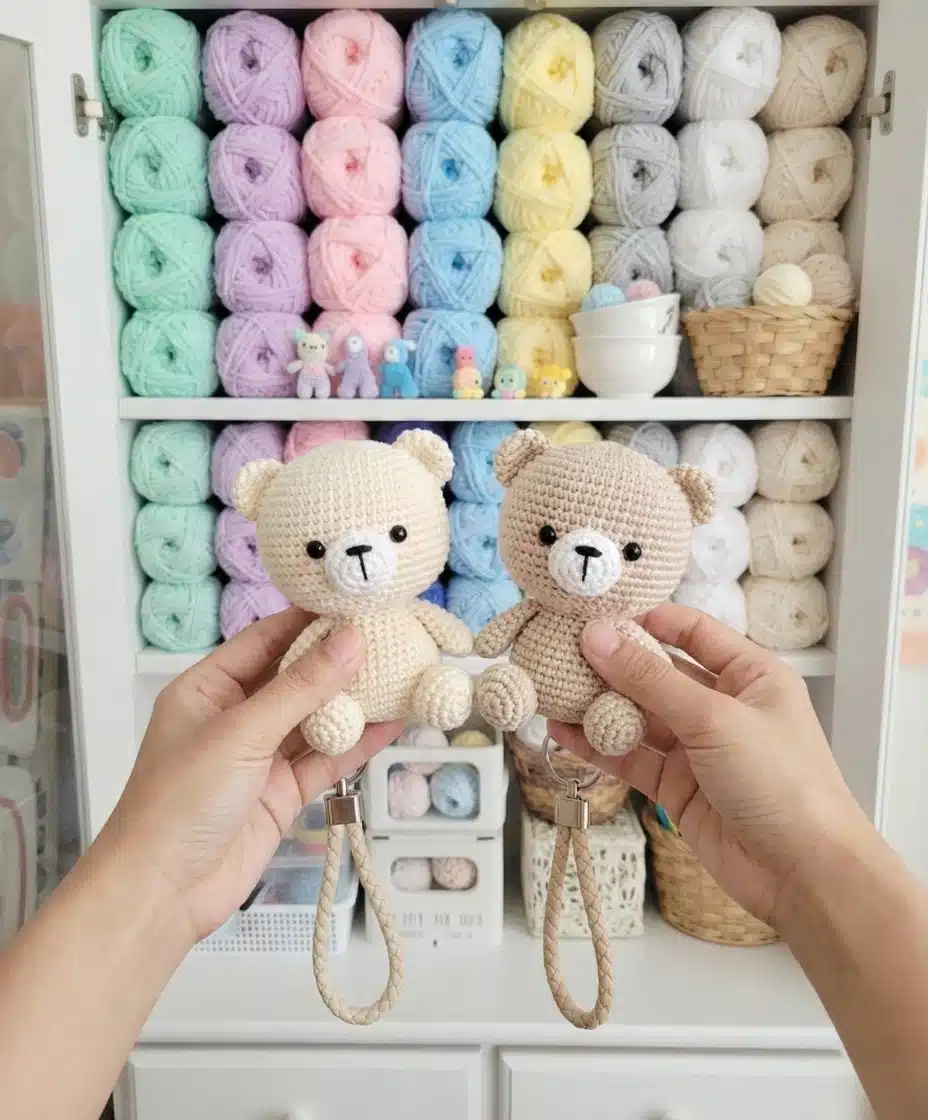
Assembly and Finishing
Once all pieces are complete, it’s time to bring your Amigurumi Teddy Bear to life:
- Stuff all pieces lightly with fiber fill before closing completely
- Attach the head to the body using the long tails and secure stitching
- Position and sew the arms at shoulder level
- Attach the legs at the base of the body
- Sew on the ears at the top of the head
- Add the muzzle to the center front of the head
- Attach the tail at the back
- Install safety eyes or sew on bead eyes
- Add the nose and embroider facial features
- Attach the keychain ring securely to the top of the head
Tips for Success
- Maintain consistent tension throughout your work for even stitches
- Stuff lightly to maintain the bear’s shape without making it too rigid
- Use safety eyes and nose if the keychain will be used by children
- Secure all attachments thoroughly, especially the keychain ring
- Take your time with assembly for the best results
Expanding Your Amigurumi Collection
This Amigurumi Teddy Bear Keychain opens the door to endless possibilities in the world of amigurumi. Consider creating variations using different colors, adding accessories like tiny scarves or hats, or scaling up the pattern for larger decorative pieces. The techniques learned here can be applied to create various animals and characters, from pandas and bunnies to more complex designs.
Conclusion
Completing this amigurumi teddy bear project provides both a sense of accomplishment and a practical, adorable accessory. The combination of basic crochet techniques results in a professional-looking finished piece that makes an excellent gift or personal keepsake. Whether you’re new to amigurumi or looking to expand your skills, this Amigurumi Teddy Bear pattern offers the perfect balance of challenge and achievability.
Start your crochet hook moving and create your own miniature teddy bear companion today. With patience and practice, you’ll soon have a charming keychain that brings a smile wherever it goes!


Remember it later!
Planning to try this soon? Pin it for a quick find later!