Table of contents
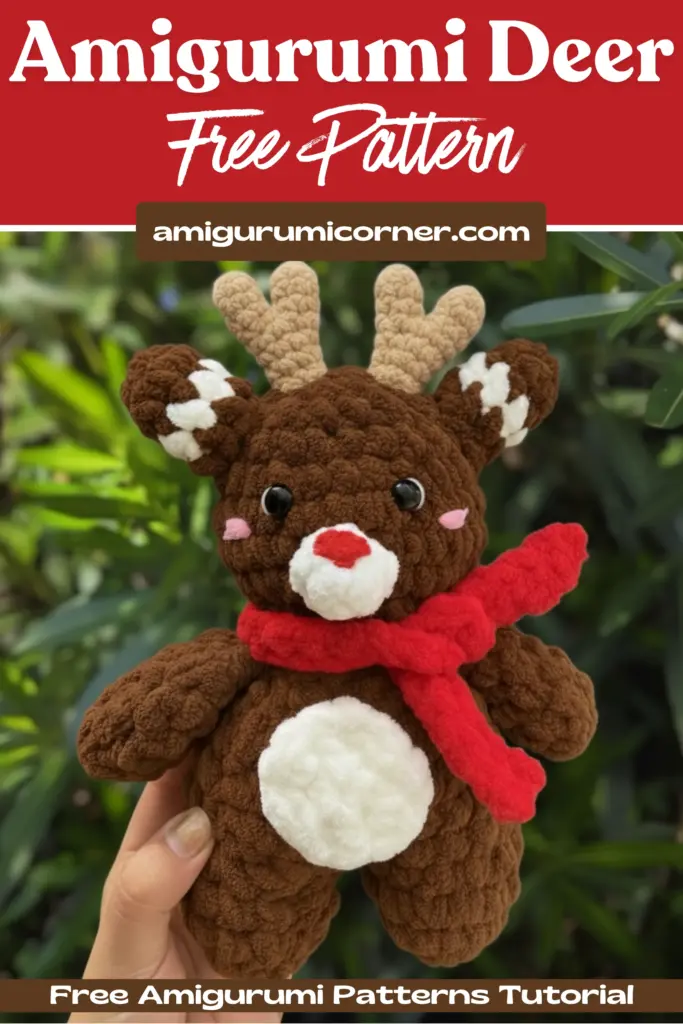
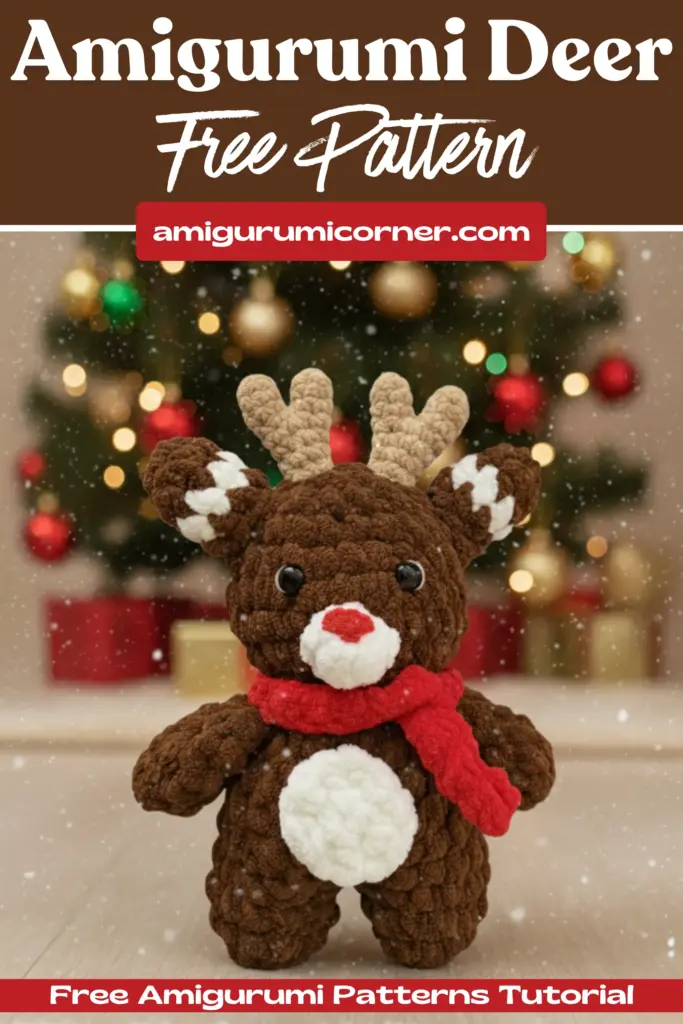
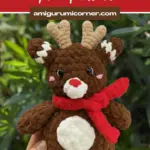
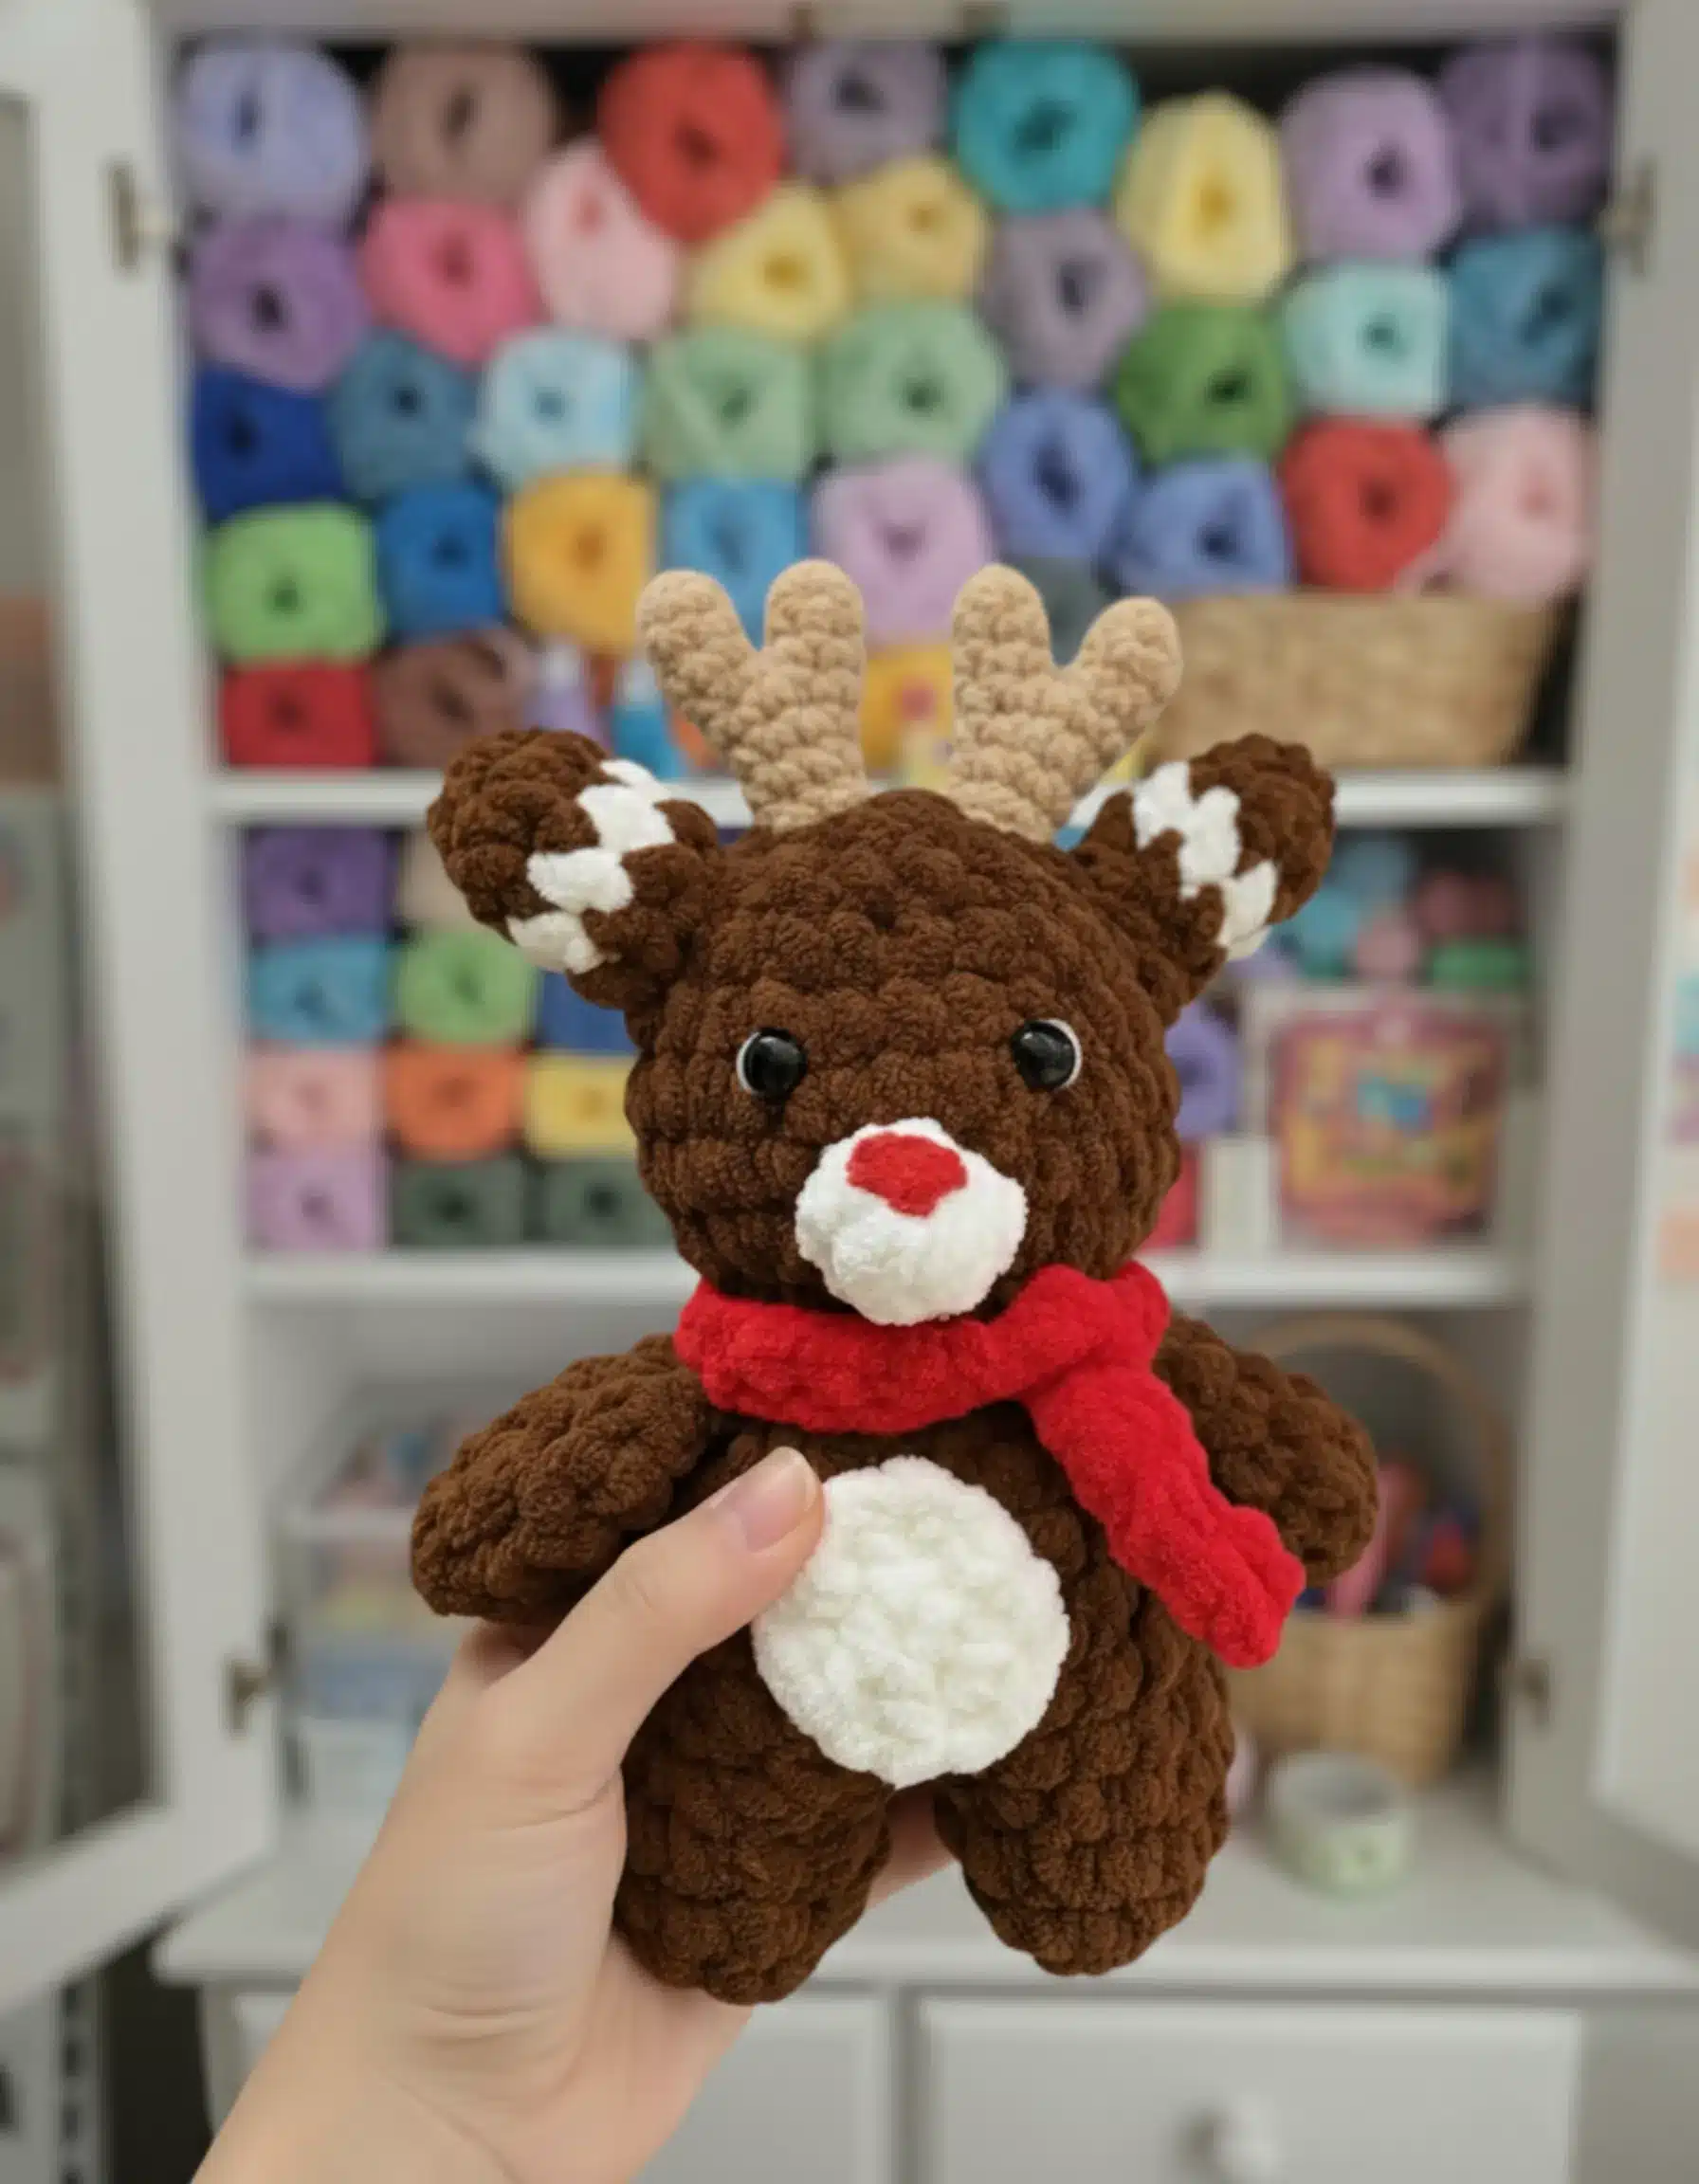
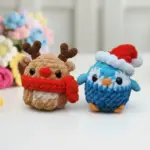
Creating your own handmade amigurumi deer is a rewarding project that combines creativity with relaxation. This charming plush toy makes a perfect gift or decorative piece for any nursery or children’s room. Whether you’re an experienced crocheter or looking to expand your amigurumi skills, this detailed pattern will guide you through every step of creating your very own cuddly fawn.
Remember it later!
Planning to try this soon? Pin it for a quick find later!
Materials You’ll Need
Before you begin your crochet journey, gather these essential supplies:
Yarn Selection:
- Plush yarn such as Himalaya Dolphin Baby or YarnArt Dolce (100g/120m) – half a skein in your main color, plus a small amount of contrasting color
- Standard yarn (50g/200m) for details
- Children’s novelty yarn for the nose and horns
Tools and Notions:
- Crochet hook No. 4 or 4.5 (I recommend 4.5 for this pattern)
- 12mm safety eyes
- Black embroidery floss for eyebrows
- Strong thread for securing parts and facial features
- Holofiber or synthetic stuffing
- Tapestry needle with large eye
- Scissors
- Stitch marker

Understanding the Pattern Abbreviations
Familiarize yourself with these common crochet terms:
- ring – amigurumi magic ring
- sc – single crochet
- inc – increase (two stitches in one)
- dec – decrease (combine two stitches)
- ss – slip stitch
Important reminder: Fill your work progressively as you crochet to ensure proper shaping!
Creating the Legs and Body
The construction begins from the ground up, starting with the legs that seamlessly transition into the body.
First Leg:
- Create 6 sc in a magic ring
- Work 6 inc for a total of 12 stitches
- Continue with 12 sc without changes
Repeat these steps for the second leg, then connect both legs with a single crochet stitch. Place your stitch marker here – this marks the beginning of your rounds.
Body Construction:
- Round 1: 12 sc on first leg, 12 sc on second leg (24 total)
- Rounds 2-6: Work 24 sc for 5 consecutive rounds
- Round 7: (2 sc, dec) repeat 6 times (18 stitches)
Remember to stuff firmly as you progress
- Round 8: (1 sc, dec) repeat 6 times (12 stitches)
Shaping the Head
The head connects directly to the body, creating the characteristic fawn silhouette.
- Round 9: (1 sc, inc) repeat 6 times (18 stitches)
- Round 10: (2 sc, inc) repeat 6 times (24 stitches)
- Round 11: (3 sc, inc) repeat 6 times (30 stitches)
- Rounds 12-13: Work 30 sc for 2 rounds without changes
- Round 14: (3 sc, dec) repeat 6 times (24 stitches)
- Rounds 15-16: Work 24 sc for 2 rounds
Position the safety eyes between rounds 14 and 15
- Round 17: (2 sc, dec) repeat 6 times (18 stitches)
- Round 18: (1 sc, dec) repeat 6 times (12 stitches)
- Round 19: Continue decreasing until the opening closes
Crafting the Arms (Pens)
Create two identical arms:
- Work 6 sc in magic ring
- Rounds 2-5: Continue with 6 sc for 4 rounds
- Round 6: 1 dec, 4 sc
- Round 7: Decrease through both loops

Adding Character: Ears and Features
Ears (Make Two):
- Work 6 sc in magic ring
- Rounds 2-3: 1 sc, change thread color, 2 sc, change thread color, 3 sc
- Round 4: 1 sc, decrease through both loops, finish with ss
Belly:
- Work 6 sc in magic ring
- Round 2: 6 inc (12 stitches)
Leave a long tail for sewing
Muzzle:
- Create 6 sc in magic ring
- Work 6 sc without changes, finish with ss
Leave tail for attachment
Nose:
Work 6 sc in magic ring, finish with ss. Leave tail for sewing to the muzzle.
Creating the Antlers
The distinctive horns give your deer its woodland charm.
Small sections (Make 2):
- Work 6 sc in magic ring
- Rounds 2-4: Work 6 sc for 3 rounds
Main horn piece:
- Work 6 sc in magic ring
- Rounds 2-4: Work 6 sc for 3 rounds
- Connect with small section to create 9 sc in the round
- Rounds 4-7: Work 9 sc for 4 rounds
Leave a long tail for sewing. Repeat to create the second antler.
Assembly and Finishing Touches
This is where your fawn truly comes to life!
- Secure all components: Attach the ears, arms, belly, muzzle, nose, and antlers to the body using your tapestry needle and strong thread
- Facial sculpting: Create definition by making strategic thread pulls where indicated in reference photos – first around one eye pulling downward, then the second eye, and finally under both
- Embroider details: Use black floss to add eyebrows and any additional facial features
- Weave in ends: Carefully hide all yarn tails inside the body

The Perfect Accessory: Scarf
Complete your deer with a cozy scarf:
- Chain 90 stitches
- Starting from the second chain from the hook, work single crochet stitches back along the chain
- Finish with a slip stitch
- Cut yarn and weave in ends
Final Thoughts
Congratulations on completing your adorable amigurumi deer! This charming woodland creature showcases your crochet skills and makes a treasured keepsake. The combination of plush yarn and careful construction creates a soft, huggable toy perfect for children and collectors alike.
Don’t hesitate to experiment with different color combinations – try a classic brown and white, or get creative with pastels or bright hues. Each deer you create will have its own unique personality.
Remember, practice makes perfect. If this is your first amigurumi project, take your time with each step, and don’t worry if it’s not perfect – handmade charm is all about those little imperfections that make each piece special!
Happy crocheting, and enjoy your adorable new woodland friend!
You’ll Love Also This

Remember it later!
Planning to try this soon? Pin it for a quick find later!