Table of contents
Remember it later!
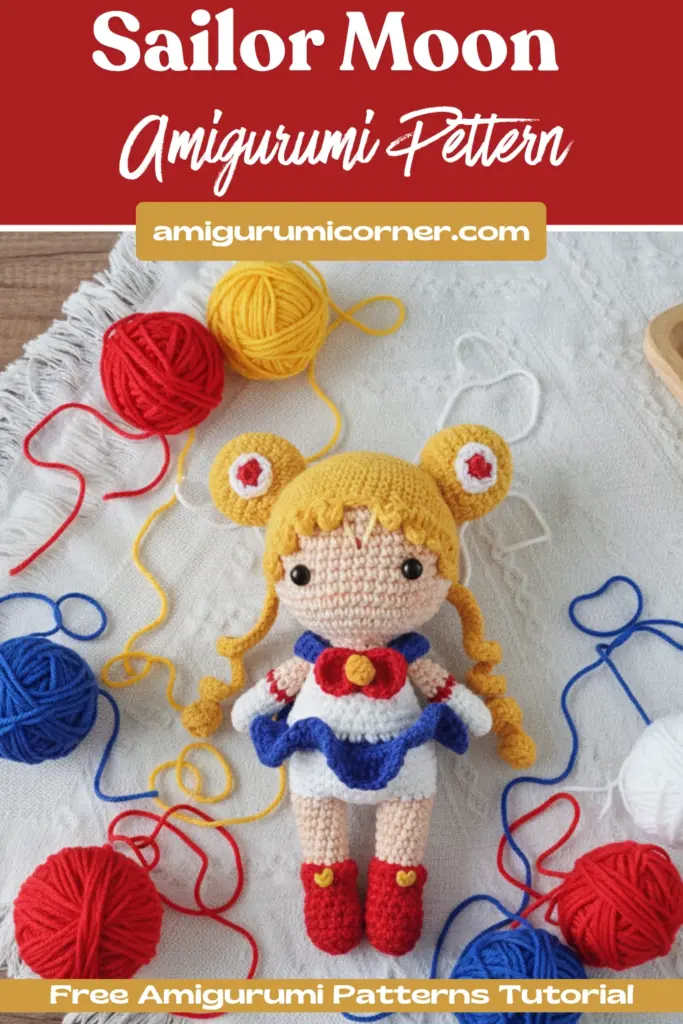
Planning to try this soon? Pin it for a quick find later!
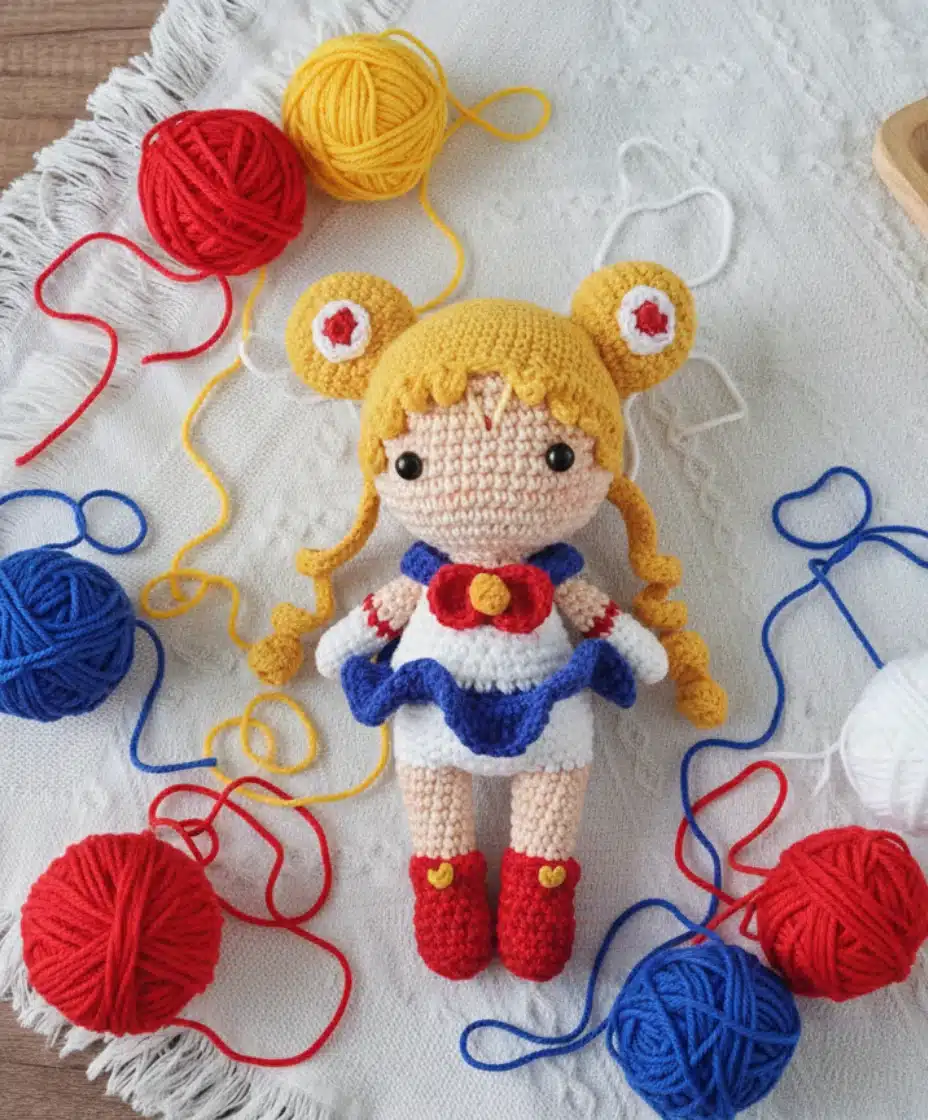
Are you ready to embark on a magical crochet journey? This charming Sailor Moon amigurumi pattern will help you create a delightful 13cm (5.1 inch) tall doll that’s perfect for gifting or adding a touch of anime magic to your home decor. Whether you’re crafting for children or fellow anime enthusiasts, this detailed pattern will guide you through every step of the process.
What You’ll Need to Get Started
Before diving into this intermediate-level project, make sure you have these essential materials:
Yarn Requirements:
- Beige, blue, red, white, yellow, and light yellow yarn colors
- YarnArt Jeans yarn recommended (160m in 50g, 55% cotton/45% polyacryl blend)
Tools and Notions:
- 2.00mm crochet hook (or size appropriate for your yarn)
- 7mm black safety eyes
- Polyester fiberfill stuffing
- Tapestry needle for sewing
- Scissors
- Stitch markers
- Pins for assembly
Skill Level: Intermediate – This pattern requires basic crochet knowledge including single crochet, increases, decreases, and color changes.

Essential Crochet Abbreviations
Before we begin, familiarize yourself with these standard crochet terms:
- MR – Magic ring
- Sc – Single crochet
- Ch – Chain stitch
- Slst – Slip stitch
- BLO – Through back loops only
- Inc – Increase (2 stitches in one stitch)
- Dec – Invisible decrease
- Hdc – Half double crochet
- Dc – Double crochet
- (…)×n – Repeat instructions n times
- Rnd – Round
Important Construction Notes
- Work continuously in a spiral unless specified otherwise
- Use a stitch marker to track the beginning of each round
- Crochet tightly to prevent stuffing from showing through
- Stuff firmly as you work, especially the head and body
- The finished size may vary based on yarn weight and tension
Building Your Sailor Moon: Step-by-Step Instructions
Creating the Body and Head
Start your Sailor Moon Amigurumi doll by working the body and head as one continuous piece. Begin with white yarn for the body section.
Body Construction:
Begin with a magic ring of 6 single crochets, then gradually increase to create the rounded body shape. You’ll work through 23 rounds, incorporating a blue stripe detail and transitioning from white to beige for the head section. The body should be stuffed firmly as you work.
Head Development:
Continue from round 24 with beige yarn, creating dramatic increases to form the head. Work 20 rounds total for the head section, placing safety eyes between rounds 30 and 31, spacing them 9 stitches apart. Gradually decrease to close the head, stuffing firmly throughout the process.
Crafting the Arms
Create two identical arms using white yarn for the gloves, red for the sleeve detail, and beige for the skin tone. Each arm requires 13 rounds of work. The key technique here is to only stuff the lower half of each arm – this prevents them from sticking out awkwardly when attached to the body.
Designing the Iconic Hair
Sailor Moon’s signature blonde hair consists of multiple components:
Main Hair Piece:
Work with yellow yarn through 17 rounds, creating a cap that fits over the head. The final round incorporates a special curl technique using chain stitches to create her distinctive hair texture.
Hair Buns:
Craft two bun caps using yellow yarn, working 10 rounds each with gradual increases and decreases. Stuff lightly for shape.
Adding Costume Details
Sailor Collar:
Create the iconic blue sailor collar using a foundation chain and various stitch heights to achieve the proper curved shape.
Bow Tie:
Construct a charming bow using red yarn for the main pieces and yellow for the center detail. This requires creating two circular pieces and one small connecting piece.
School Skirt:
Attach the pleated blue skirt by working into the front loops of the body’s round 13, creating dramatic increases for that full, flouncy appearance.
Creating the Legs and Finishing Touches
Work each leg starting with red yarn for the shoes, transitioning to white for socks, and finishing with beige for the skin. The shoe construction uses special shaping techniques to create a realistic foot appearance.
Additional Details:
- Create two long hair curls using yellow yarn
- Add small red and white accent pieces
- Attach all components securely using the long tails left from each piece
Assembly and Final Details
The magic happens during assembly! Attach each component in this order:
- Sew legs to the body for stability
- Attach arms symmetrically to the sides
- Add the collar and bow tie to the front
- Secure the main hair piece to the head
- Attach bun caps and curls for the complete hairstyle
- Add final decorative elements between the hair curls
Tips for Success
Color Changing Technique: When switching yarn colors, complete the last stitch of the previous color by pulling the new color through the final two loops. This creates clean, professional-looking color transitions.
Stuffing Strategy: Stuff components gradually as you work rather than waiting until the end. This ensures proper shaping and prevents distortion.
Tension Consistency: Maintain even tension throughout to ensure your finished doll has a professional appearance and uniform shape.
Your Magical Creation Awaits
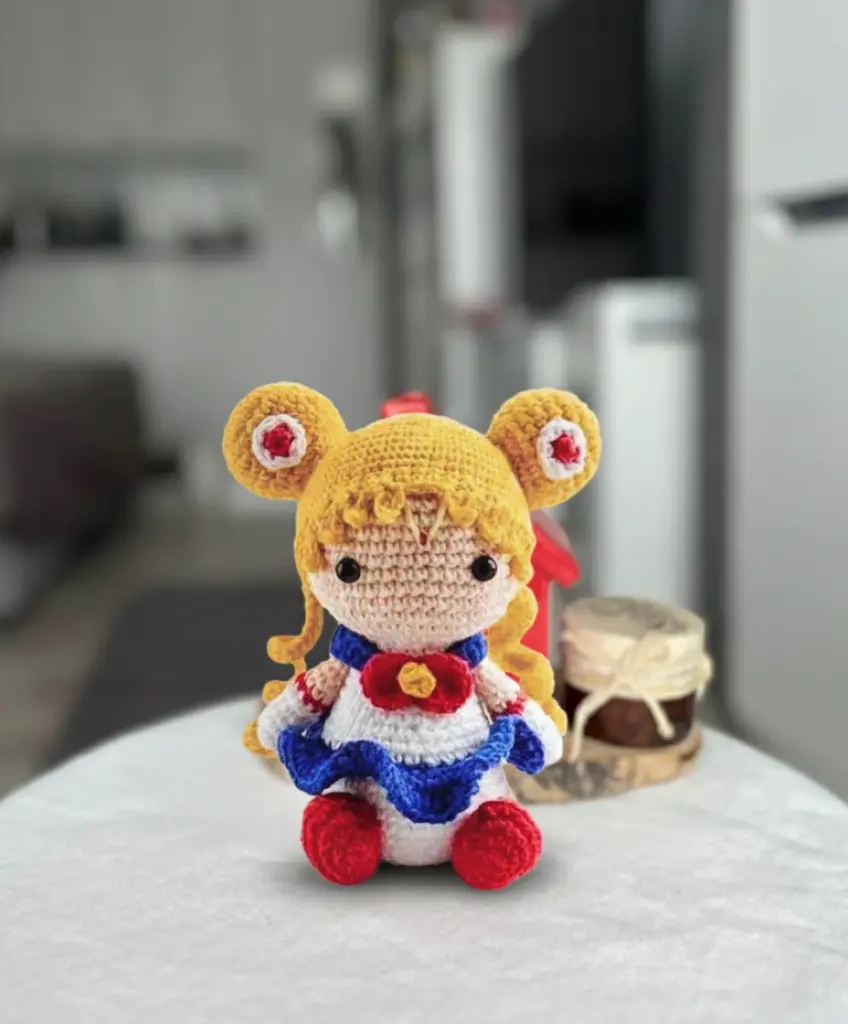
Completing this Sailor Moon amigurumi doll is incredibly rewarding. The combination of classic amigurumi techniques with character-specific details creates a truly special piece. Whether displayed on a shelf, given as a gift, or used as a beloved toy, your handmade Sailor Moon will bring joy for years to come.
Take your time with each section, pay attention to the details that make this character iconic, and don’t forget to stuff as you go. The patience you invest in following each step carefully will be reflected in your beautiful finished doll.
Remember, every expert crocheter was once a beginner. If this is your first character amigurumi, don’t be discouraged by the multiple components – each piece builds your skills for future projects. Happy crocheting, and may your Sailor Moon doll bring a touch of magical girl power to wherever she lands!

Remember it later!
Planning to try this soon? Pin it for a quick find later!