Table of contents
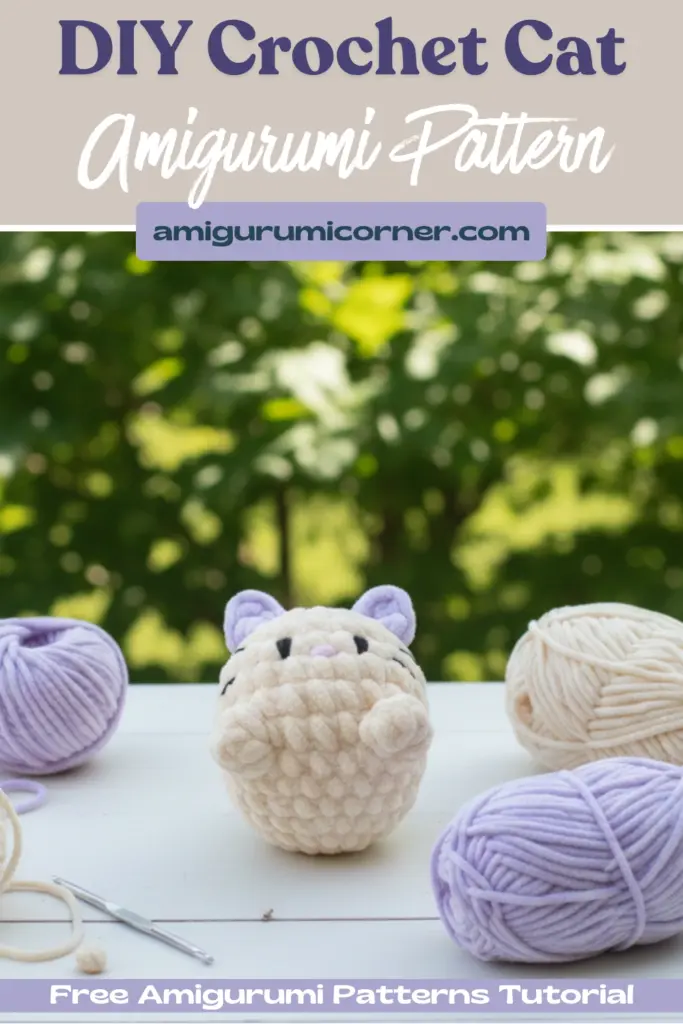
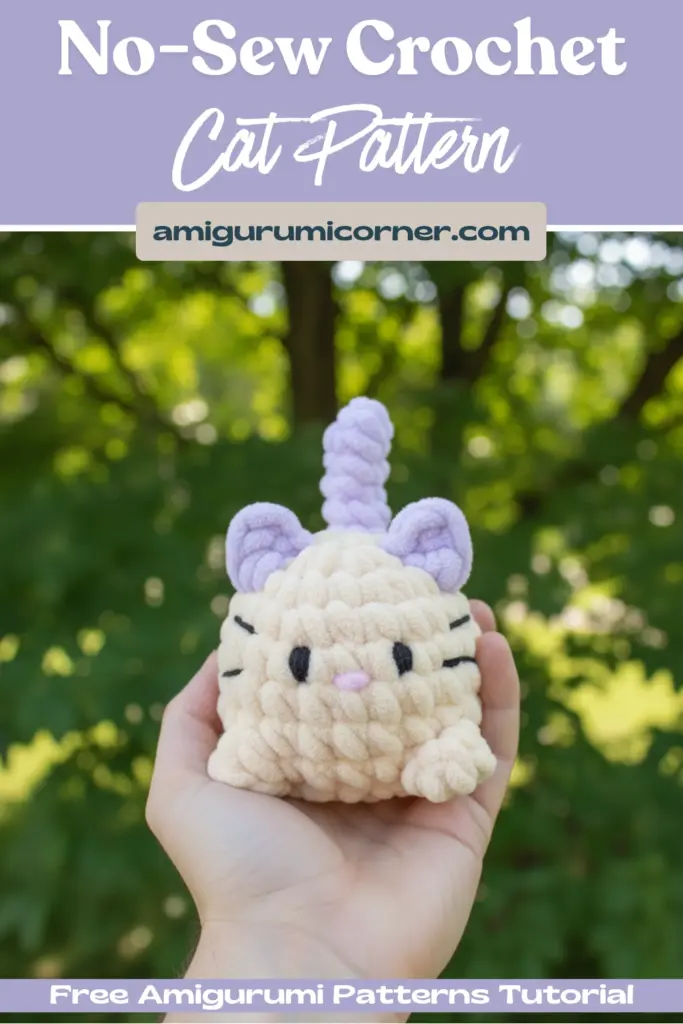
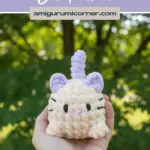
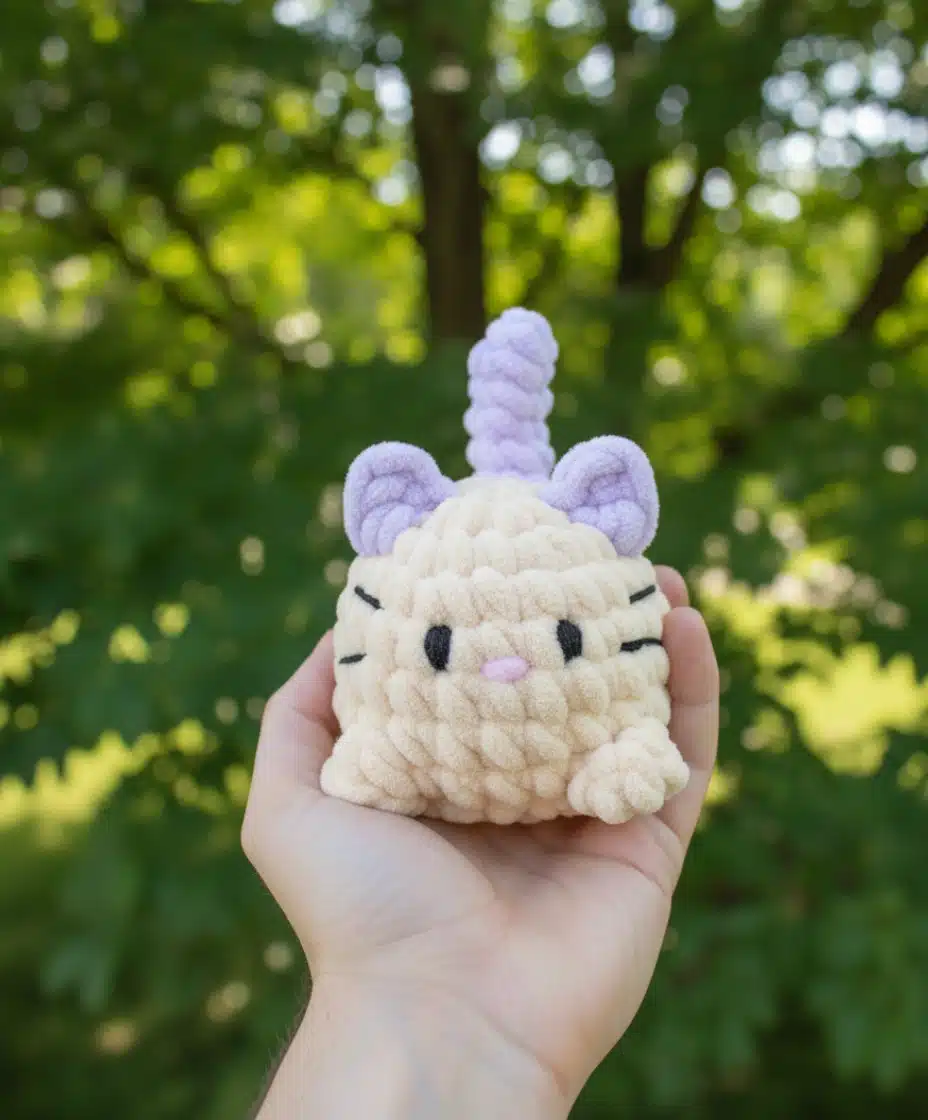
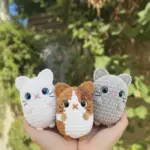
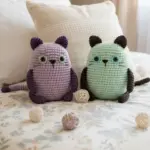
Creating handmade toys brings a special kind of joy, and this charming no-sew crochet cat pattern is perfect for crafters of all skill levels. Whether you’re an experienced amigurumi enthusiast or just starting your crochet journey, this delightful little feline will steal your heart with its curved tail and sweet embroidered face.
Remember it later!
Planning to try this soon? Pin it for a quick find later!
What Makes This Pattern Special
This innovative crochet cat design eliminates the tedious sewing process that typically comes with amigurumi projects. By cleverly incorporating the tail and ears directly into the body construction, you’ll save time while creating a seamless, professional-looking finished product. The result is an adorable cat measuring approximately 7 cm (2.6 inches) tall and 12 cm (5 inches) when the tail is positioned upward.
Materials You’ll Need
Yarn Requirements
For this No-Sew Crochet Cat Pattern project, you’ll need super bulky chenille yarn, which creates a wonderfully soft and cuddly texture. The recommended yarn is Hobbii Baby Snuggle (approximately 50g) or a similar weight yarn in the following colors:
- White (main body color)
- Orange (for ears and tail details)
- Light pink (small amount for the nose)
- Black sports weight yarn (for embroidering facial features)

Essential Tools and Supplies
- 6mm crochet hook
- Tapestry or sewing needle
- Hypoallergenic polyester stuffing
- Scissors
- Stitch marker
Understanding the Abbreviations
Before diving into the pattern, familiarize yourself with these common crochet terms:
- Sc: Single crochet
- Hdc: Half double crochet
- Bo: Bobble stitch (5 double crochet)
- Blsc: Back loop single crochet
- Blsl: Back loop slip stitch
- Fl: Front loop
- Inc: Increase
- Dec: Decrease
Crafting the Body
The body forms the foundation of your crochet No-Sew Crochet Cat Pattern and incorporates several clever techniques.
Starting the Base
Begin with white yarn and create a magic ring containing 6 single crochet stitches. This technique creates a tight, seamless center for your work.
- Round 2: Work 6 increases for a total of 12 stitches
- Round 3: Work (1 single crochet, 1 increase) repeated 6 times for a total of 18 stitches
- Round 4: Work (2 single crochet, 1 increase) repeated 6 times for a total of 24 stitches
Creating the Tail Opening
Round 5: Chain 2, skip 2 stitches, work 22 single crochet
Round 6: Work 2 single crochet on the chains, then 22 single crochet
At this point, you’ll have created a small opening of 4 stitches total. This is where the magic happens! Don’t cut your yarn—simply pause here and add a stitch marker to secure your work.
Working the Tail
Switch to orange yarn and introduce it into one of the remaining stitches around the opening. Create 8 rounds of 4 single crochet stitches. When complete, cut the yarn and fasten off, but leave a generous tail—you’ll need this later to create the characteristic curved tail.
Completing the Body
Return to your white yarn and continue:
Rounds 7-8: Work 24 single crochet stitches

Adding the Adorable Paws
The bobble stitch creates charming, dimensional paws that give your cat personality and texture.
Round 9: Work 3 single crochet, then repeat (1 front loop bobble stitch, 5 single crochet) 3 times, 1 bobble stitch, 2 single crochet
Important technique note: When working the bobble stitches, insert your hook through the front loop only. For single crochet stitches, work as usual through both loops.
Shaping the Head
Round 10: Work (2 single crochet, 1 decrease) repeated 6 times for a total of 18 stitches
Round 11: Work (1 single crochet, 1 decrease) repeated 6 times for a total of 12 stitches
Cut the yarn and fasten off securely.
Creating the Ears
The ears add character and complete the feline appearance. Using orange yarn, introduce it into one stitch of the 3rd round of the head.
Chain 3, skip the first chain, then work 1 single crochet and 1 half double crochet. Fasten off by bringing the yarn inside the second round of the head. Repeat this process on the opposite side to create the second ear.
Pro tip: Leave a small tail of yarn outside the cat—you’ll use this to secure the tail curve later.
Shaping the Tail Curve
This step transforms your straight crocheted tail into a gracefully curved feline tail that adds movement and charm to your finished piece.
Thread the leftover yarn from the tail onto a tapestry needle. Bring the yarn from the top of the tail to approximately the center (around round 4), then bring it back inside the tail and out through the top of the body. Gently pull the yarn to create a slight curve in the tail. Secure by tying it together with the leftover yarn from the ear.
Embroidering the Facial Features
The face brings your No-Sew Crochet Cat Pattern crochet to life with personality and expression.
Eyes
Using black thread, embroider two simple eyes in round 5 of the head, leaving approximately 3 stitches of space between them. Keep the stitches small and tight for a neat appearance.
Whiskers
With the same black thread, add two whiskers extending outward from each eye, positioned about 2 stitches to the side.
Nose
Using a small amount of light pink plush yarn, create a tiny nose with a single stitch in length, centered between and slightly below the eyes.
Tips for Success
- Maintain consistent tension throughout your project for even stitching
- Stuff firmly but not too tightly to maintain the cat’s shape while keeping it cuddly
- Work in good lighting when embroidering facial features for precision
- Practice bobble stitches on a swatch if you’re unfamiliar with the technique
- Use stitch markers to track your rounds and prevent mistakes
Customization Ideas
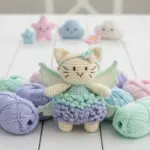
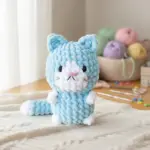
While this No-Sew Crochet Cat Pattern creates a classic white and orange cat, feel free to personalize your creation:
- Color variations: Try gray and white, black and white, or even calico patterns
- Facial expressions: Adjust eye placement for different looks
- Size modifications: Use different yarn weights and hook sizes for larger or smaller cats
- Accessories: Add a tiny crocheted collar or bow for extra charm
Troubleshooting Common Issues
Uneven stitches: Check your tension and ensure you’re working into the correct loops
Gaps in the fabric: You may be crocheting too loosely—try going down a hook size
Tail won’t curve: Make sure you’re pulling the securing thread with the right amount of tension
Bobbles look flat: Ensure you’re completing all 5 double crochet stitches properly
Your Finished Creation
Once complete, you’ll have an absolutely adorable no-sew crochet cat that’s perfect for gifting, decorating, or adding to your handmade collection. The compact size makes it ideal for small hands, while the soft chenille yarn ensures it’s cuddly and huggable.
This pattern demonstrates how thoughtful design can eliminate complex assembly steps while still producing a polished, professional result. The integrated construction method saves time and creates a more durable toy since there are no seams to come apart over time.
Whether you’re making one special cat or creating a whole clowder of colorful felines, this pattern offers endless creative possibilities. The straightforward instructions combined with clever no-sew techniques make it an enjoyable project that yields impressive results.
Happy crocheting, and may your new feline friend bring you joy every time you see its sweet little face and perfectly curved tail!
Remember it later!
Planning to try this soon? Pin it for a quick find later!