Table of contents
Creating handmade toys brings immense joy, especially when the result is an irresistibly cute teddy bear that can become a cherished companion for children or a delightful gift for loved ones. This comprehensive guide will walk you through creating your very own crochet teddy bear using the amigurumi technique, complete with detailed instructions and helpful tips.
Remember it later!
Planning to try this soon? Pin it for a quick find later!
What Makes This Teddy Bear Special
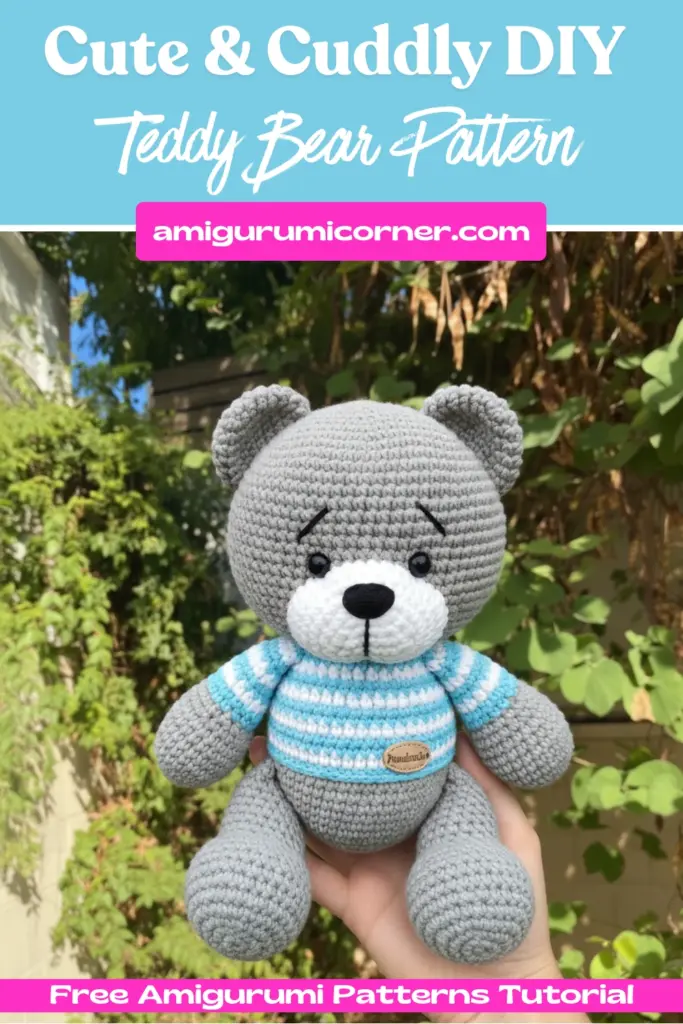
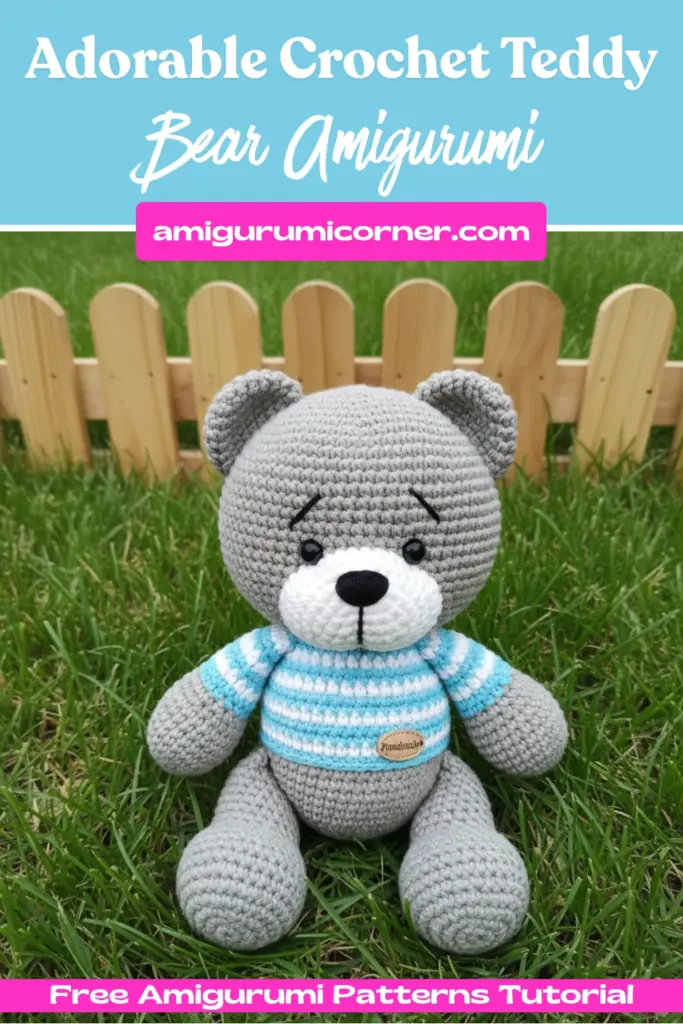
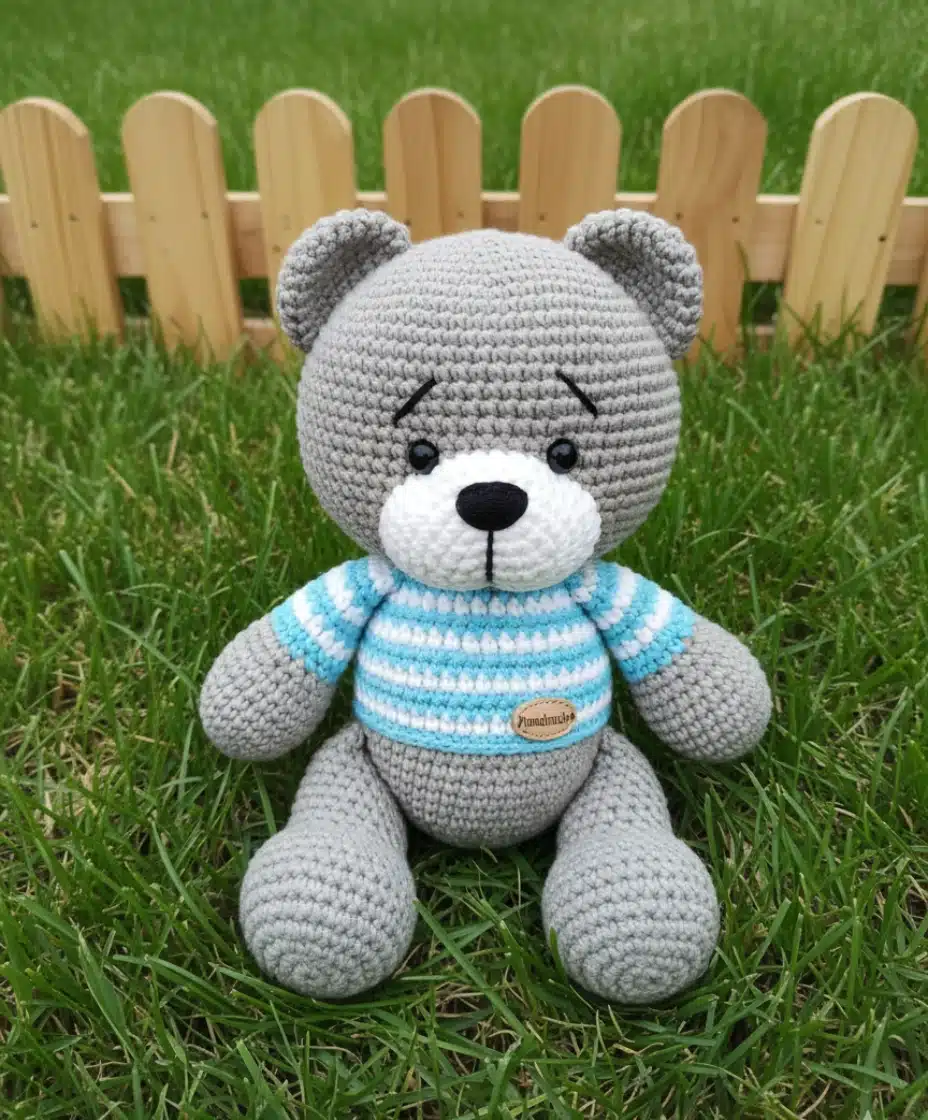
This adorable crochet teddy bear amigurumi pattern offers incredible versatility and charm. The design features a wonderful amigurumi toy with soft fiber filling inside, making it perfect for cuddling. One of the best aspects of this pattern is its customizable nature – you can change the primary colors as you wish and use plush yarn if you prefer.
The pattern leaves the crochet sweater part to your preference, allowing for complete creative freedom. You’ll find that users have completed this pattern with accessories according to their own taste, making each bear unique and personal.

Getting Started: Essential Information
Before diving into the pattern details, it’s important to note that while we provide the detailed pattern explanation, the upper part can be customized entirely to your imagination. However, if you want it to match the original design exactly, you can find the complete upper section description in the amigurumi pattern details.
Materials Needed
- Yarn: Medium weight yarn in your chosen colors
- Hook: Size appropriate for your yarn weight
- Stuffing: Soft fiber filling
- Safety eyes (optional)
- Yarn needle for sewing
- Scissors
Step-by-Step Pattern Instructions
Head Construction
The teddy bear starts with the head, worked in continuous rounds:
Round 1: 6 single crochet in magic ring
Round 2: Increase in each stitch (12 stitches)
Round 3: Single crochet, increase – repeat 6 times (18 stitches)
Round 4: 2 single crochet, increase – repeat 6 times (24 stitches)
Round 5: 3 single crochet, increase – repeat 6 times (30 stitches)
Round 6: 4 single crochet, increase – repeat 6 times (36 stitches)
Round 7: 5 single crochet, increase – repeat 6 times (42 stitches)
Round 8: 6 single crochet, increase – repeat 6 times (48 stitches)
Continue this pattern, working in rounds and gradually increasing the stitch count. The head should form a nice rounded shape as you progress.
Body Assembly
After completing the head section, move on to constructing the body. The body follows a similar increasing pattern initially, then maintains a consistent circumference before decreasing toward the bottom.
Work the body in continuous rounds, changing colors after the 12th round if desired. The pattern includes specific stitch counts for each round to ensure proper shaping.
Arms and Legs
The limbs are worked separately and then sewn to the body:
Arms: Start with 30 single crochet stitches in a spiral for 11 rounds
Legs: Begin with 42 single crochet stitches in a spiral, working complex shaping for realistic proportions
Each limb requires careful attention to shaping and stuffing. Fill them with soft fiber before attaching to ensure they maintain their form.
Ears and Facial Features
The ears are small but crucial for the teddy bear’s character:
- Work 24 single crochet stitches in a spiral
- Create the distinctive bear ear shape through careful decreasing
- Attach securely to the head
For the muzzle, create a small cone shape and stuff lightly before sewing to the face. The ears and muzzle give the bear its distinctive teddy bear appearance.
Final Assembly and Finishing Touches
Once all pieces are complete:
- Stuff all components with soft fiber filling
- Sew the head to the body securely
- Attach arms and legs at appropriate positions
- Add facial features like eyes and nose
- Sew on ears for the final touch

Customization Ideas
This Teddy Bear Amigurumi Pattern’s beauty lies in its adaptability. Consider these creative variations:
- Color combinations: Try pastels for a gentle look or bright colors for a playful appearance
- Clothing additions: Add vests, scarves, or seasonal accessories
- Size modifications: Adjust hook size and yarn weight for different bear sizes
- Facial expressions: Vary eye and mouth placement for different personalities
Tips for Success
Stuffing Technique: Fill each section firmly but not overly tight to maintain the bear’s cuddly feel.
Stitch Consistency: Keep your tension even throughout for a professional appearance.
Safety Considerations: If making for small children, ensure all parts are securely attached and consider embroidered features instead of safety eyes.
Conclusion
Creating this crochet teddy bear amigurumi is a rewarding project that combines technical skill with creative expression. Whether you’re making it as a gift or keeping it for yourself, this adorable bear will surely bring smiles and comfort to anyone who encounters it.
The pattern’s flexibility allows both beginners and experienced crocheters to create something uniquely their own while following a proven structure. Take your time with each section, enjoy the meditative rhythm of crocheting, and watch as your teddy bear comes to life stitch by stitch.
Remember, the most important ingredient in any handmade creation is the love and care you put into it. Your finished teddy bear will carry that special touch that only comes from something made by hand.


Remember it later!
Planning to try this soon? Pin it for a quick find later!