Table of contents
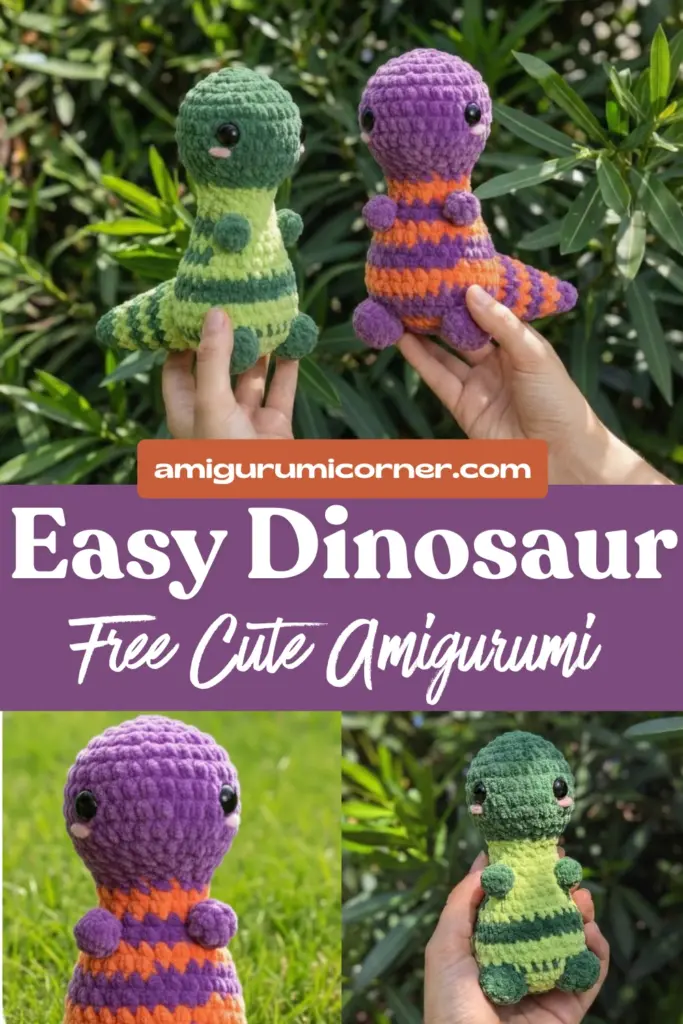
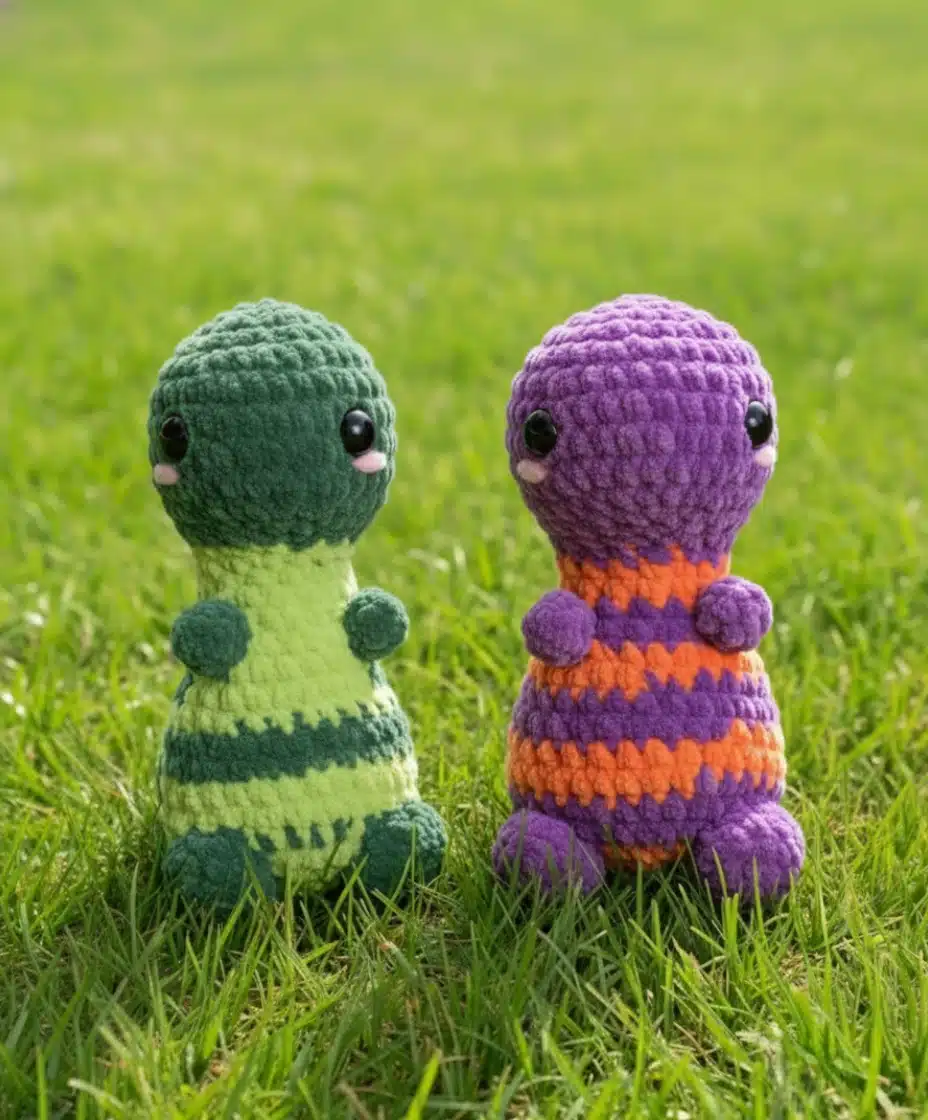
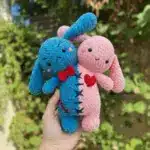
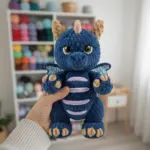
Looking for a fun and engaging crochet project that will delight children and adults alike? This charming crochet dinosaur pattern is perfect for crafters of all skill levels who want to create something special. With its colorful stripes and friendly appearance, this little dinosaur makes an excellent gift, nursery decoration, or addition to any toy collection.
Remember it later!
Planning to try this soon? Pin it for a quick find later!

What You’ll Need
Before diving into this delightful project, gather these essential materials:
Yarn Requirements:
- Approximately 20g of size 4 worsted weight yarn in your main color
- About 5g of size 4 worsted weight yarn in a contrasting stripe color
- 4mm crochet hook
Additional Supplies:
- Yarn needle for sewing pieces together
- Sharp scissors
- 6mm safety eyes for that perfect friendly expression
- Polyester fiberfill stuffing
- Stitch markers (optional but helpful)
Essential Abbreviations
Familiarize yourself with these common crochet terms used throughout the pattern:
- MR = Magic Ring
- MC = Main Color
- CC = Contrasting Color
- sc = Single Crochet
- inc = Increase
- dec = Decrease
- st = Stitch
- sl st = Slip Stitch
- BLO = Back Loops Only

Creating the Dinosaur Body
The body forms the main structure of your dinosaur and incorporates the charming stripe pattern that gives this creature its distinctive look.
Rounds 1-12: Shaping the Head
Begin with 6 single crochets in a magic ring, then gradually increase to create the rounded head shape. Work through rounds of strategic increases and decreases to form the distinctive dinosaur head silhouette.
Rounds 13-24: Adding Stripes and Body
This is where your dinosaur comes to life! Switch between your main color and contrasting color to create the signature striped pattern. The strategic color changes in rounds 13-23 create an eye-catching design that makes your dinosaur truly special.
Important Timing: Place the 6mm safety eyes between rounds 7-8, spacing them approximately 16 stitches apart. This positioning creates that perfect friendly expression. Remember to stuff the head before continuing with the body sections.
Rounds 25-29: Completing the Body
Finish the body with a series of decreases while stuffing firmly to maintain the dinosaur’s shape. The final rounds bring everything together into a neat, professional finish.
Crafting the Extremities
Arms (Make 2)
These simple appendages add character to your dinosaur:
- Start with 5 single crochets in a magic ring
- Work 2 additional rounds maintaining the same stitch count
- These small arms are quick to make and add adorable detail
Tail
The tail features the same delightful stripe pattern as the body:
- Begin with your contrasting color for visual continuity
- Alternate colors as you increase the tail’s girth
- The final shape creates a perfect dinosaur tail that balances the overall design
Feet (Make 2)
Create sturdy feet that will help your dinosaur stand:
- Start with a magic ring and work increases
- Use the back loops only technique in round 3 for added texture
- The final size provides stable support for your finished dinosaur

Assembly and Finishing Touches
The final assembly brings all your hard work together:
- Attach the Arms: Position them between the two stripe sections, aligning with the eye placement for perfect symmetry
- Secure the Tail: Sew it to the center back of the body for optimal balance
- Add the Feet: Place them slightly wider than the arms but still in line with the eyes, approximately 2 rounds below the last stripe
Tips for Success
- Tension Matters: Maintain consistent tension throughout to ensure even shaping
- Stuffing Technique: Stuff firmly but not overly tight to maintain the dinosaur’s soft, huggable quality
- Color Planning: Choose contrasting colors that complement each other for the most striking visual impact
- Safety First: Ensure safety eyes are securely attached, especially if creating this toy for young children
Conclusion
This delightful crochet dinosaur pattern combines simplicity with charm, making it an ideal project for expanding your crochet skills while creating something truly special. The combination of basic stitches, strategic shaping, and playful color work results in a toy that’s both beautiful and functional.
Whether you’re creating a gift for a dinosaur-loving child, adding to your own collection, or simply enjoying the meditative process of crochet, this pattern delivers satisfaction and joy. The finished dinosaur will become a treasured companion, bringing smiles and sparking imagination for years to come.
Take your time, enjoy the process, and watch as your prehistoric pal comes to life stitch by stitch!
Remember it later!
Planning to try this soon? Pin it for a quick find later!