Table of contents
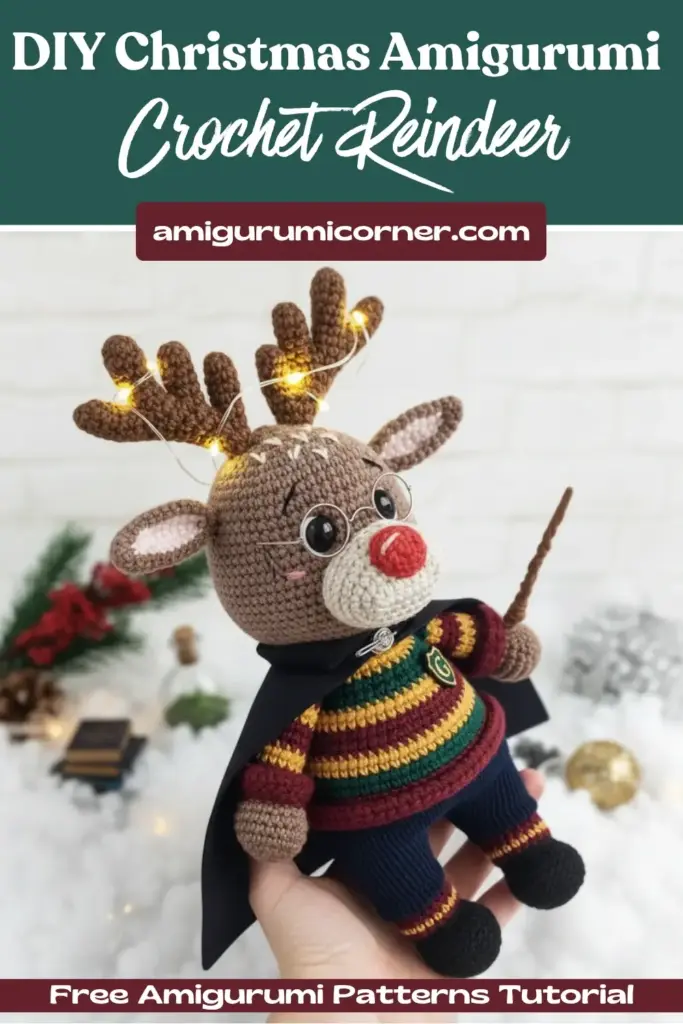
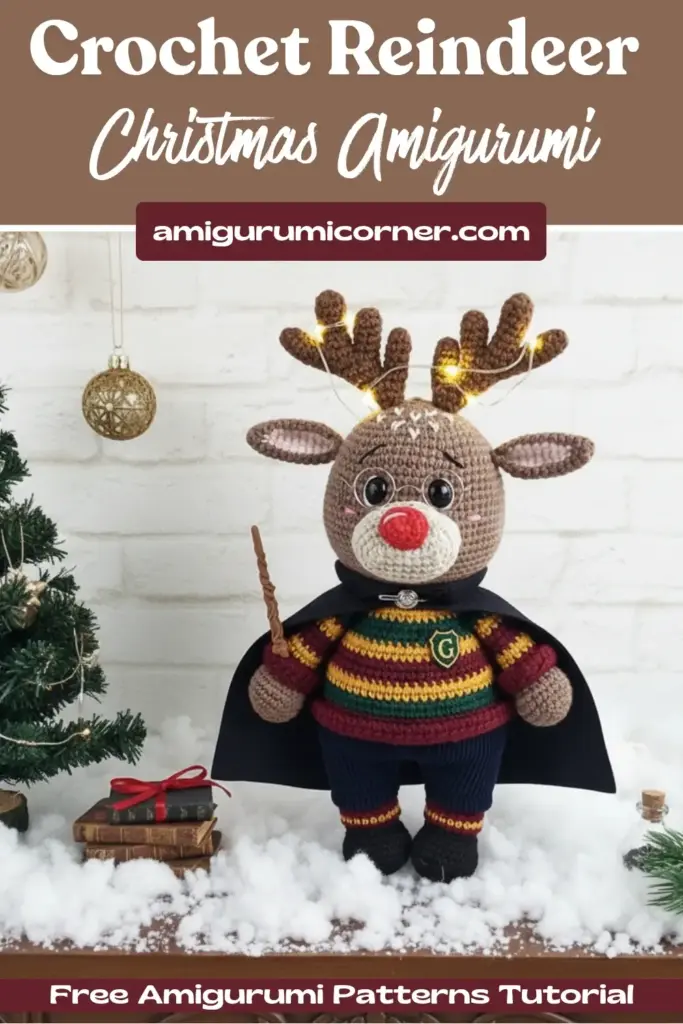
If you’ve been searching for the perfect holiday crochet project that combines charm, creativity, and a touch of whimsy, look no further than creating your very own crocheted reindeer. This comprehensive guide will walk you through everything you need to know to bring this delightful character to life, from selecting materials to final assembly.
Remember it later!
Planning to try this soon? Pin it for a quick find later!
What You’ll Need to Get Started
Before diving into your crochet adventure, gathering the right materials is essential for achieving professional-looking results. Here’s your complete shopping list:
Yarn Selection
The recommended yarn for this project is Yarnart Jeans (a blend of 55% cotton and 45% acrylic), which provides excellent stitch definition and durability. You’ll need:
- Red yarn: 40 grams for the main body
- Green yarn: 25 grams for clothing details
- White yarn: 15 grams for striped accents
- Brown yarn: For the main head and darker brown for horns
- Pink yarn: For inner ears and cheek details
- Milk/cream yarn: For the muzzle
- Black thin yarn: For facial features and embroidery
Essential Tools and Supplies
- 2mm crochet hook
- Quality stuffing material
- 12mm plastic safety eyes or sewing beads
- One small button (5mm) for the scarf
- Tapestry or sewing needle
- Straight pins for positioning
- Scissors
- Stitch marker
- Most importantly: a positive, creative mindset!
Size Expectations
When using the recommended yarn and hook size, your finished reindeer will measure approximately 25 centimeters (10 inches) tall from feet to antler tips. This makes it the perfect size for display, gifting, or as a cherished companion for children.
Key Techniques You’ll Use
This pattern assumes you have basic crochet skills and introduces you to some intermediate techniques:

The Jacquard Color-Change Method
For creating the adorable two-toned ears, you’ll use the jacquard technique. This method involves changing colors mid-row while carrying the unused yarn along the inside of your work. The key is to insert your new color during the last step of completing the previous stitch, ensuring clean color transitions without visible gaps.
Working in Continuous Spirals
Most components are crocheted in a continuous spiral without slip stitches or turning chains. This technique eliminates visible seams and creates smooth, professional-looking results. Use your stitch marker diligently to track the beginning of each round.
Creating Striped Patterns
For the festive candy-cane effect on the arms and body, you’ll alternate colors every two rows. The pattern includes helpful tips for keeping these stripe lines straight and even, including when to shift your starting point to maintain alignment.
Breaking Down the Components
Your christmas reindeer consists of several crocheted pieces that you’ll assemble at the end:
The Arms
Starting with a magic ring, each arm gradually increases to create a rounded hand before decreasing to form the wrist and arm. You’ll create subtle differences between the left and right arms to ensure proper positioning when attached to the body. The distinctive red and white striping begins at row 13, creating that classic holiday look.
The Head
This substantial component begins with a magic ring and uses systematic increases to create a well-proportioned sphere. Starting with just 6 stitches, you’ll work up to 72 stitches at the widest point before decreasing back down. The shaping is carefully calculated to create the perfect foundation for your reindeer’s endearing face.
The Legs and Body
Perhaps the most interesting construction aspect of this christmas reindeer pattern is that the legs and body are crocheted as one continuous piece. You’ll create two separate legs, then join them together to form the body, eliminating bulky seams and creating a sturdy, well-balanced structure.

Facial Features
The charm of your christmas reindeer comes alive through carefully crafted facial components:
- The muzzle: An oval-shaped piece that adds dimension to the face
- The nose: A small, stuffed triangle in dark brown
- The ears: Two-toned pieces combining brown and pink using the jacquard technique
- The antlers: Multi-part structures with shorter and longer branches that join together
Accessories
No holiday reindeer is complete without festive accessories:
- A striped scarf worked in back-and-forth rows with a textured rib pattern
- A charming gift bag with a drawstring closure and optional strap
Pro Tips for Success
Tension Matters
Using a hook slightly smaller than typically recommended for your yarn weight creates tighter stitches with no gaps, preventing stuffing from showing through. This is especially important for safety-eye placement and overall appearance.
Strategic Stuffing
Stuff each component firmly but not overly tight. Arms should be stuffed only in the hand portion, while the head requires dense, even stuffing to maintain its shape and support the facial features.
Alignment Techniques
When working striped sections, the pattern includes helpful guidance about shifting your starting point to keep color-change lines straight rather than spiraling. This attention to detail makes a significant difference in the finished appearance.
The Assembly Process
Assembly order matters for achieving professional results. The pattern guides you through:
- Attaching the head to the body with additional stuffing in the neck for stability
- Creating eye tightenings for a sculptural, lifelike appearance
- Positioning and securing the muzzle, nose, and facial embroidery
- Attaching ears and antlers at precise locations
- Adding embroidered details like eyebrow expression and rosy cheeks
- Finishing with the scarf and gift bag
Understanding Pattern Abbreviations
Familiarize yourself with these common crochet terms used throughout:
- SC: Single crochet
- Inc: Increase (two stitches in one)
- Dec: Invisible decrease
- BLO: Back loops only
- FLO: Front loops only
- Ch: Chain
- Rep: Repeat
- Dc: Double crochet
Why This Pattern Stands Out
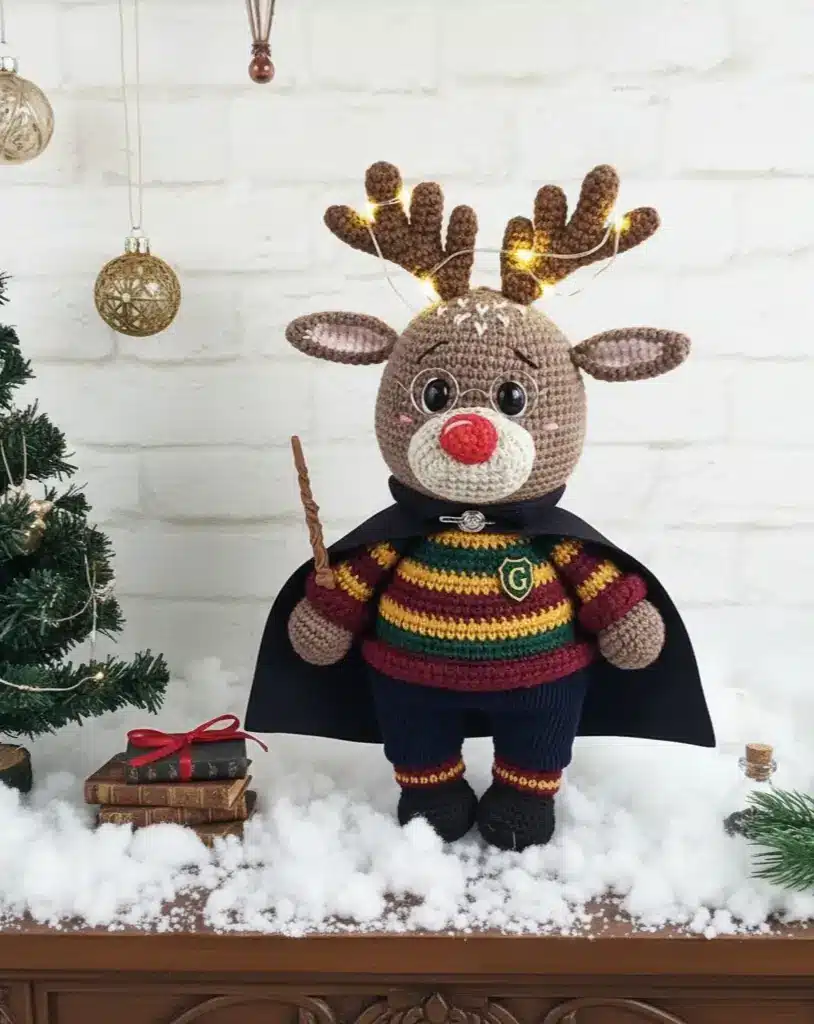
What makes this christmas reindeer pattern special is the attention to detail in construction and finishing. The jacquard color work, the festive striping, the anatomically considered limb placement, and the charming accessories all combine to create a toy that’s both visually appealing and structurally sound.
The completed reindeer isn’t just a decoration—it’s a huggable friend with personality. The carefully positioned features, from the slightly intoed feet to the inward-facing palms, give this creation a lifelike quality that makes it truly special.
Making It Your Own
While the christmas reindeer pattern provides specific color recommendations, don’t be afraid to personalize your creation. Consider:
- Choosing a different color scheme to match your décor
- Adding embellished details like bells or ribbons
- Experimenting with different yarn textures
- Creating seasonal variations with different accessories
The Joy of Handmade
There’s something deeply satisfying about creating a handmade toy from start to finish. Each stitch represents time, care, and creativity. Whether you’re making this reindeer as a gift for a loved one or as a special addition to your own holiday decorations, the process of bringing this character to life through your own hands creates a connection that mass-produced items simply cannot match.
Final Thoughts
Creating a crocheted christmas reindeer using this detailed pattern is an achievable project for crocheters with basic to intermediate skills. The step-by-step instructions, combined with thoughtful construction techniques and charming details, result in a finished piece you’ll be proud to display or gift.
Set aside dedicated crafting time, gather your materials, and prepare to embark on a rewarding creative journey. Before you know it, you’ll have your very own handcrafted reindeer ready to spread holiday cheer. Happy crocheting!
Remember it later!
Planning to try this soon? Pin it for a quick find later!