Table of contents
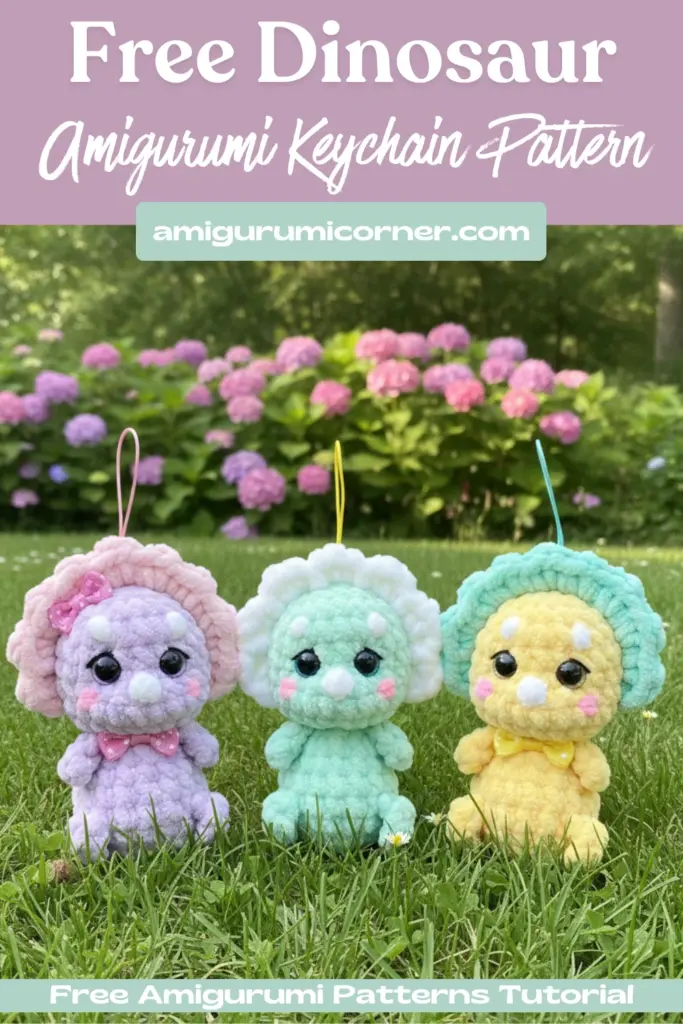
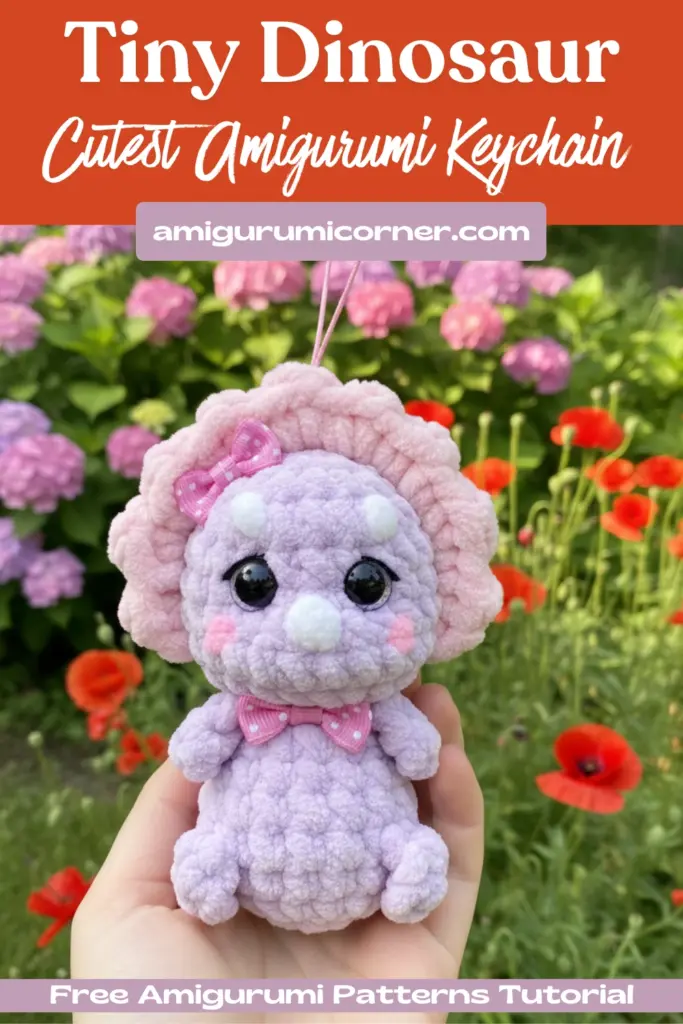
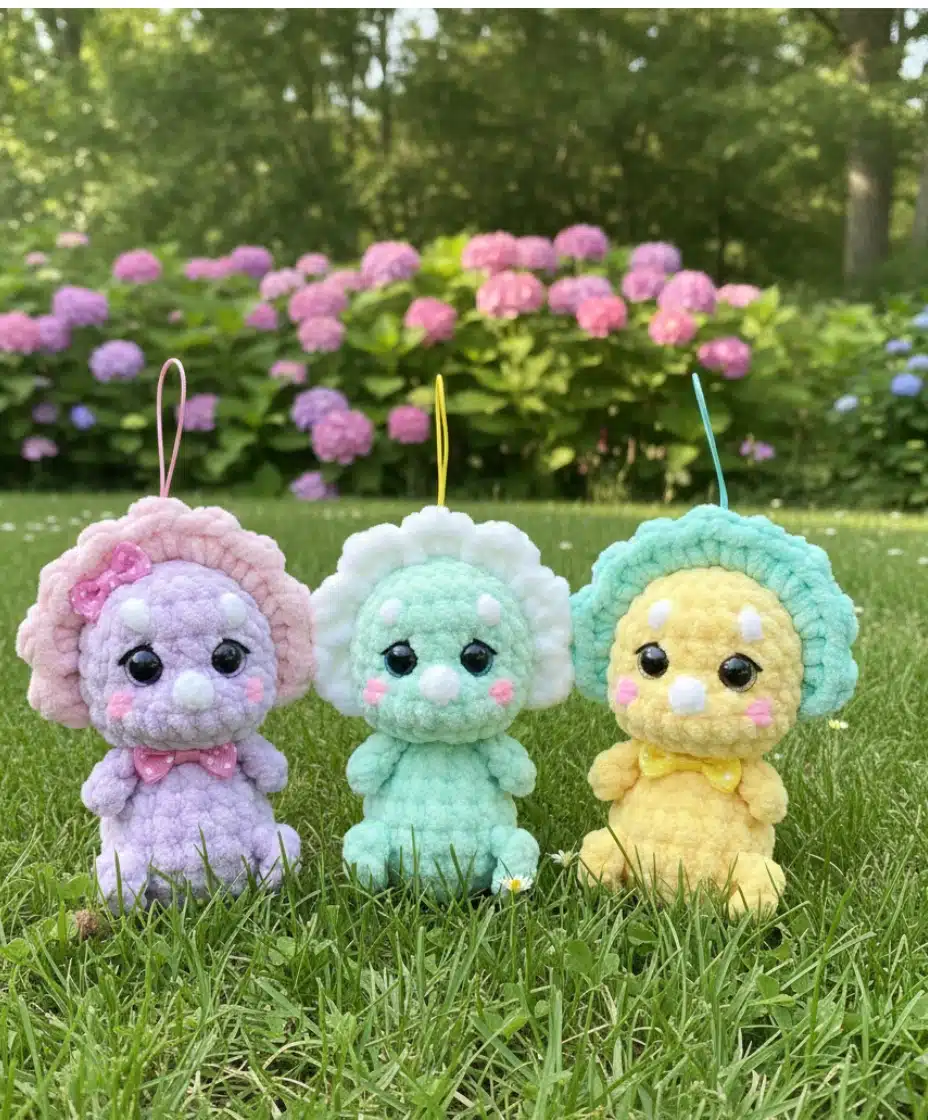
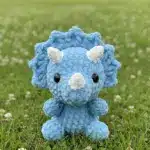
Looking for a quick and charming crochet project? This mini Amigurumi Dinosaur Keychain is the perfect companion for your keys or bag! Standing at approximately 11 cm tall, this cute prehistoric friend features an endearing collar, tiny horns, and sweet embroidered details. Whether you’re a seasoned crocheter or looking to expand your amigurumi skills, this pattern offers a delightful one-piece construction that makes assembly a breeze.
Remember it later!
Planning to try this soon? Pin it for a quick find later!
Materials Needed
Before you begin, gather the following supplies:
- Main color yarn: Himalaya Dolphin Baby (or similar bulky weight yarn)
- Accent color yarn: For the decorative collar on the head
- YarnArt Jeans: For the horns
- Crochet hooks: Size 4mm (for body) and 2mm (for horns)
- Safety eyes: 8mm, 9mm, or 12mm with secure fastening
- Stuffing: Polyester fiberfill or holofiber
- Notions: Yarn needle, stitch marker, scissors, embroidery thread for facial features
- Keychain hardware: Metal clasp or ring
- Optional decorations: Small bow or satin ribbon

Stitch Abbreviations
Understanding these common crochet terms will help you follow the pattern smoothly:
- sc – single crochet
- inc – increase (2 sc in one stitch)
- dec – decrease (single crochet 2 stitches together)
- ring – magic ring (amigurumi ring)
- ch – chain stitch
- ss – slip stitch
Important Notes Before Starting
This Amigurumi Dinosaur Keychain is worked in continuous spiral rounds without joining, except where noted. Stuff the piece firmly as you work to maintain good shape. The unique construction method knits the toy in one piece, starting from the tail and working up through the body to the head, which minimizes finishing work.
Pattern Instructions
Tail
- Round 1: 6 sc in magic ring (6)
- Round 2: (sc, inc) repeat 3 times (9)
- Round 3: (2 sc, inc) repeat 3 times (12)
- Round 4: (3 sc, inc) repeat 3 times (15)
- Round 5: 15 sc, finish with ss (15)
Cut the yarn and set the tail aside. You’ll attach it to the body in the next section.
Body
- Round 1: 6 sc in magic ring (6)
- Round 2: (inc) repeat 6 times (12)
- Round 3: (sc, inc) repeat 6 times (18)
- Round 4: 2 sc, 4 ch, then working back into the second loop from the hook work 3 sc along the chain, 5 sc, 4 ch, working into the second loop from the hook work 3 sc along the chain, 3 sc, then work 8 sc across the tail (18)
Note: Take the completed tail piece, position it against the body, and crochet through both the body and tail loops to join them together. The chains create the arms.
- Round 5: sc, inc, 6 sc, inc, sc, then work 9 sc across the tail (working through both layers on the sides with sc) (21)
Note: Continue working around the outside edge of the tail.
- Round 6: 21 sc (21)
- Round 7: (5 sc, dec) repeat 3 times (18)
- Round 8: 3 sc, 4 ch, working into the second loop from the hook work 3 sc along the chain, 5 sc, 4 ch, working into the second loop from the hook work 3 sc along the chain, 10 sc (18)
- Round 9: (sc, dec) repeat 6 times (12)
Head
- Round 10: (inc) repeat 12 times (24)
- Round 11-15: 24 sc (24) – Work 5 rounds even
- Insert safety eyes between rounds 15 and 16, spacing them 2-3 stitches apart.
- Round 16: (2 sc, dec) repeat 6 times (18)
- Round 17: (sc, dec) repeat 6 times (12)
- Round 18: (dec) repeat 6 times (6)
Fasten off, leaving a long tail. Thread through remaining stitches and pull tight to close.

Decorative Collar
The collar adds personality and charm to your dinosaur! Work from right to left, joining your accent color yarn between rounds 13 and 14.
Method 1: Work slip stitches symmetrically around the head: 2 ss, 3 sc in one stitch, 2 ss. Continue facing forward without turning your work.
Method 2: Using main color, work: ss, sc, ch, sc in one stitch, and continue this pattern to the end of the row. Fasten off and cut the main color. Then, using white or accent color, bind the edge from right to left: ss, 3 sc, and continue to the end of the row.
Face Shaping (Optional)
For a more defined, adorable expression, you can add facial shaping. Insert a needle with strong thread under the edge of one eye, pass it through to the other eye creating a loop, then gently pull to tighten. This creates an indentation that gives your dinosaur character and dimension.
Alternatively, you can embroider 2 stitches on each side for a simpler approach.
Horns (Make 3)
Using YarnArt Jeans yarn and a 2mm hook, work in your collar accent color:
- Round 1: 5 sc in magic ring (5)
- Round 2: 5 sc (5)
Fasten off, leaving a long tail for sewing. Position and sew the three horns along the top of the head, spacing them evenly.

Finishing Touches
Complete your adorable Amigurumi Dinosaur Keychain with these final details:
- Embroidered cheeks: Using pink embroidery floss, add small circular stitches to create rosy cheeks
- Decorative bow: Attach a small satin bow beneath the collar or on the side of the head
- Keychain attachment: Securely attach your keychain hardware to the top of the head or back of the dinosaur
- Weave in ends: Carefully weave in all loose yarn ends using your tapestry needle
Frequently Asked Questions
The pattern recommends Himalaya Dolphin Baby for the body, which is a bulky weight yarn. You’ll also need YarnArt Jeans (a DK/light worsted weight) for the horns. Using these yarn weights will give you a dinosaur approximately 11 cm tall.
Yes! To change the size, use a different yarn weight and corresponding hook size. For a larger dinosaur, try chunky yarn with a 6mm hook. For a smaller version, use DK weight yarn with a 3mm hook throughout. Remember to adjust your safety eye size accordingly.
Yes, this pattern uses continuous spiral rounds (amigurumi style), where you don’t join at the end of each round. Using a stitch marker to track your rounds is helpful. If you’re new to this technique, practice with the magic ring and working in spirals before starting.
In Round 4 of the body, you’ll position the completed tail against the body and crochet through both the body stitches and tail stitches simultaneously. This joins them together as one piece. Make sure to work through both layers firmly for a secure attachment.
Conclusion
This charming Amigurumi Dinosaur Keychain makes a wonderful handmade gift or personal accessory. The one-piece construction method simplifies the process while creating a sturdy, huggable result. Once you’ve mastered this pattern, try experimenting with different color combinations or adding your own creative touches like spots, stripes, or additional embroidered details.
Share your finished dinosaur creations with the amigurumi community and inspire other crafters with your unique color choices and modifications. Happy crocheting!
Remember it later!
Planning to try this soon? Pin it for a quick find later!